
Bread Making Class – So my sweet neighbor provided bread making lessons for the ladies this morning.
And I wrote a little letter before the lesson to the flour and components. It went something like this…
Dear Flour + Components, If you turn out anything like the bread Janene makes, you are going to be “So Yummy”!
Love, Me

And out the door I went with my bowl + 3 cups unbleached all-purpose flour and spatula. Janene supplied the rest of the ingredients for us. How sweet of her!
I’m bringing the bread lesson to the blog, for review, just in case I need it. Sometimes I need these things. So here goes. I’ve included the notes from Janene along with the recipe. Everyone needs a note here and there, right?
Almost No-Knead Bread
- 3 cups unbleached all-purpose flour
- 1/4 tsp. instant or rapid rise yeast (I buy a jar of rapid rise) – She adds a heaping 1/4 tsp.
- 1 1/2 tsp. salt – Exact amount for the salt
- 1 cup + 4 Tbsp. water – Did you know 4 Tbsp = 1/4 cup = good to know
- 1 Tbsp. white vinegar
NOTE: May need a tad more water if needed to absorb all the flour – My leveled off three cups of flour did not need additional drops of water.
Whisk flour, yeast and salt in a large bowl.
Add water and vinegar. Using a rubber spatula, fold mixture scraping up dry flour from bottom of bowl until shaggy ball forms. Cover bowl with plastic wrap and let sit at room temperature for 8 to 18 hours.
We may or may not have told Janene that we would be showing up in 18 hours for the next step – In our PJ’s no less. 😉
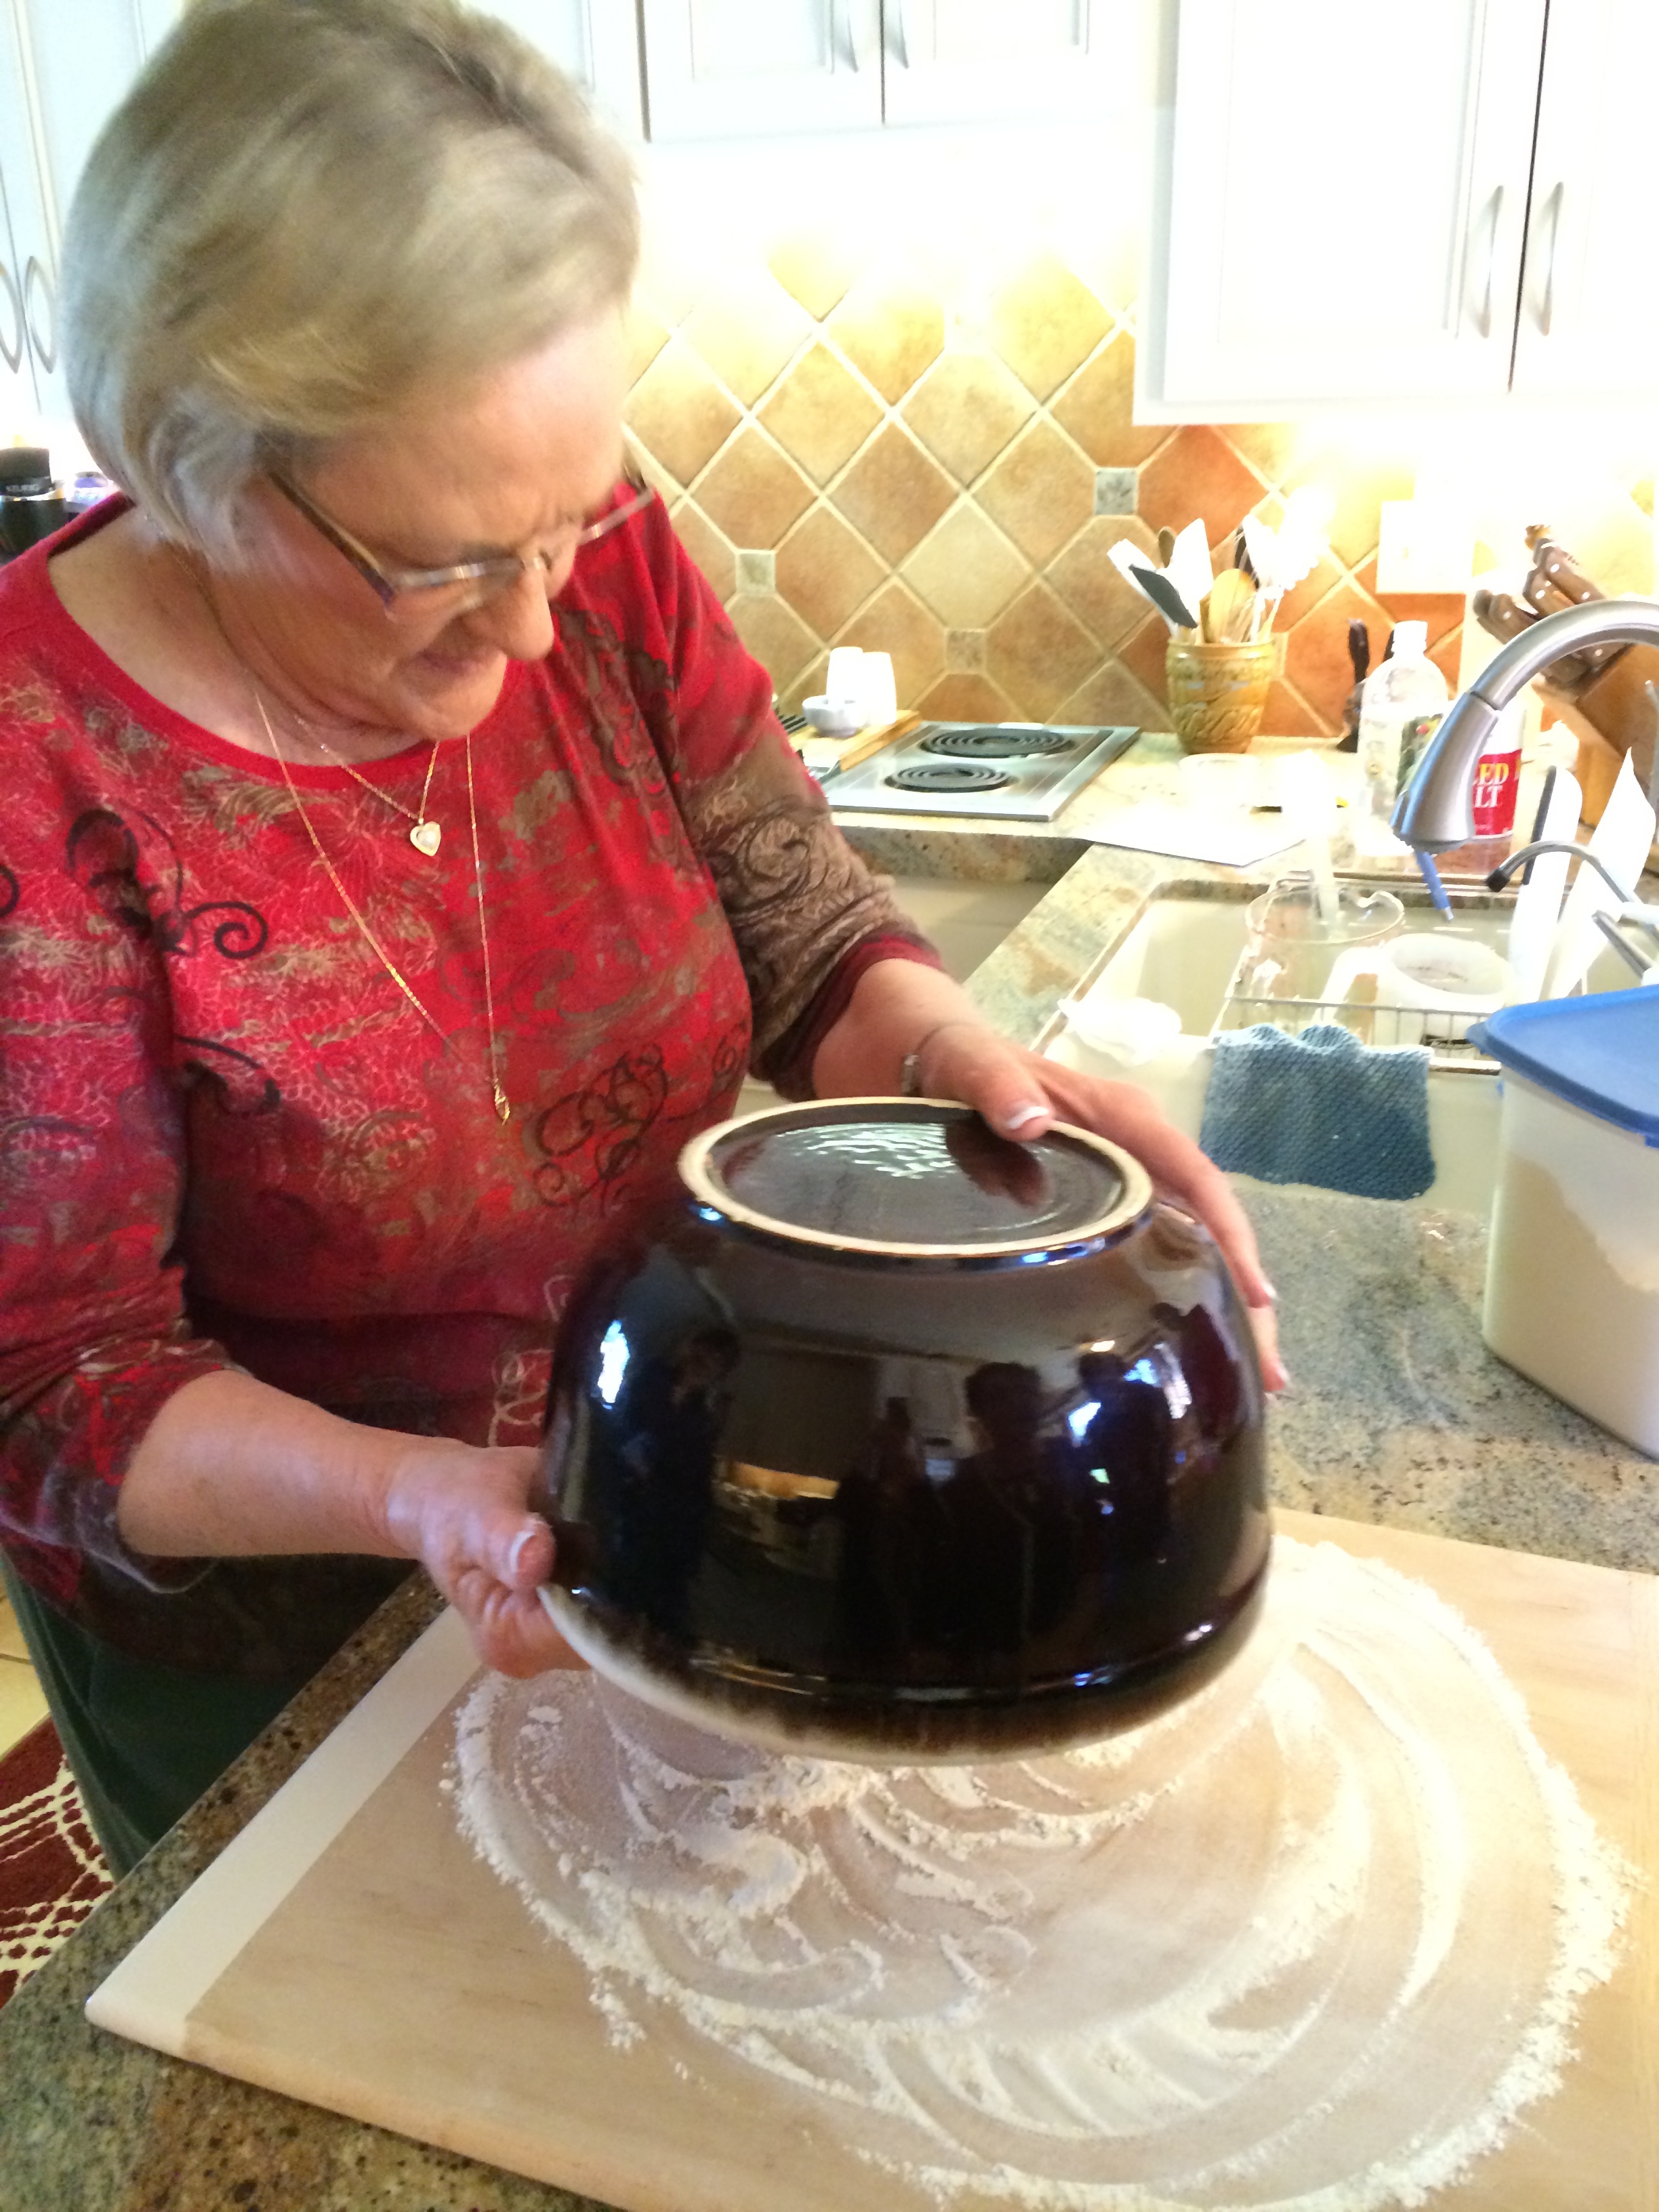
Lay 12 x 18 inch of parchment paper over bowl and spray with Pam.
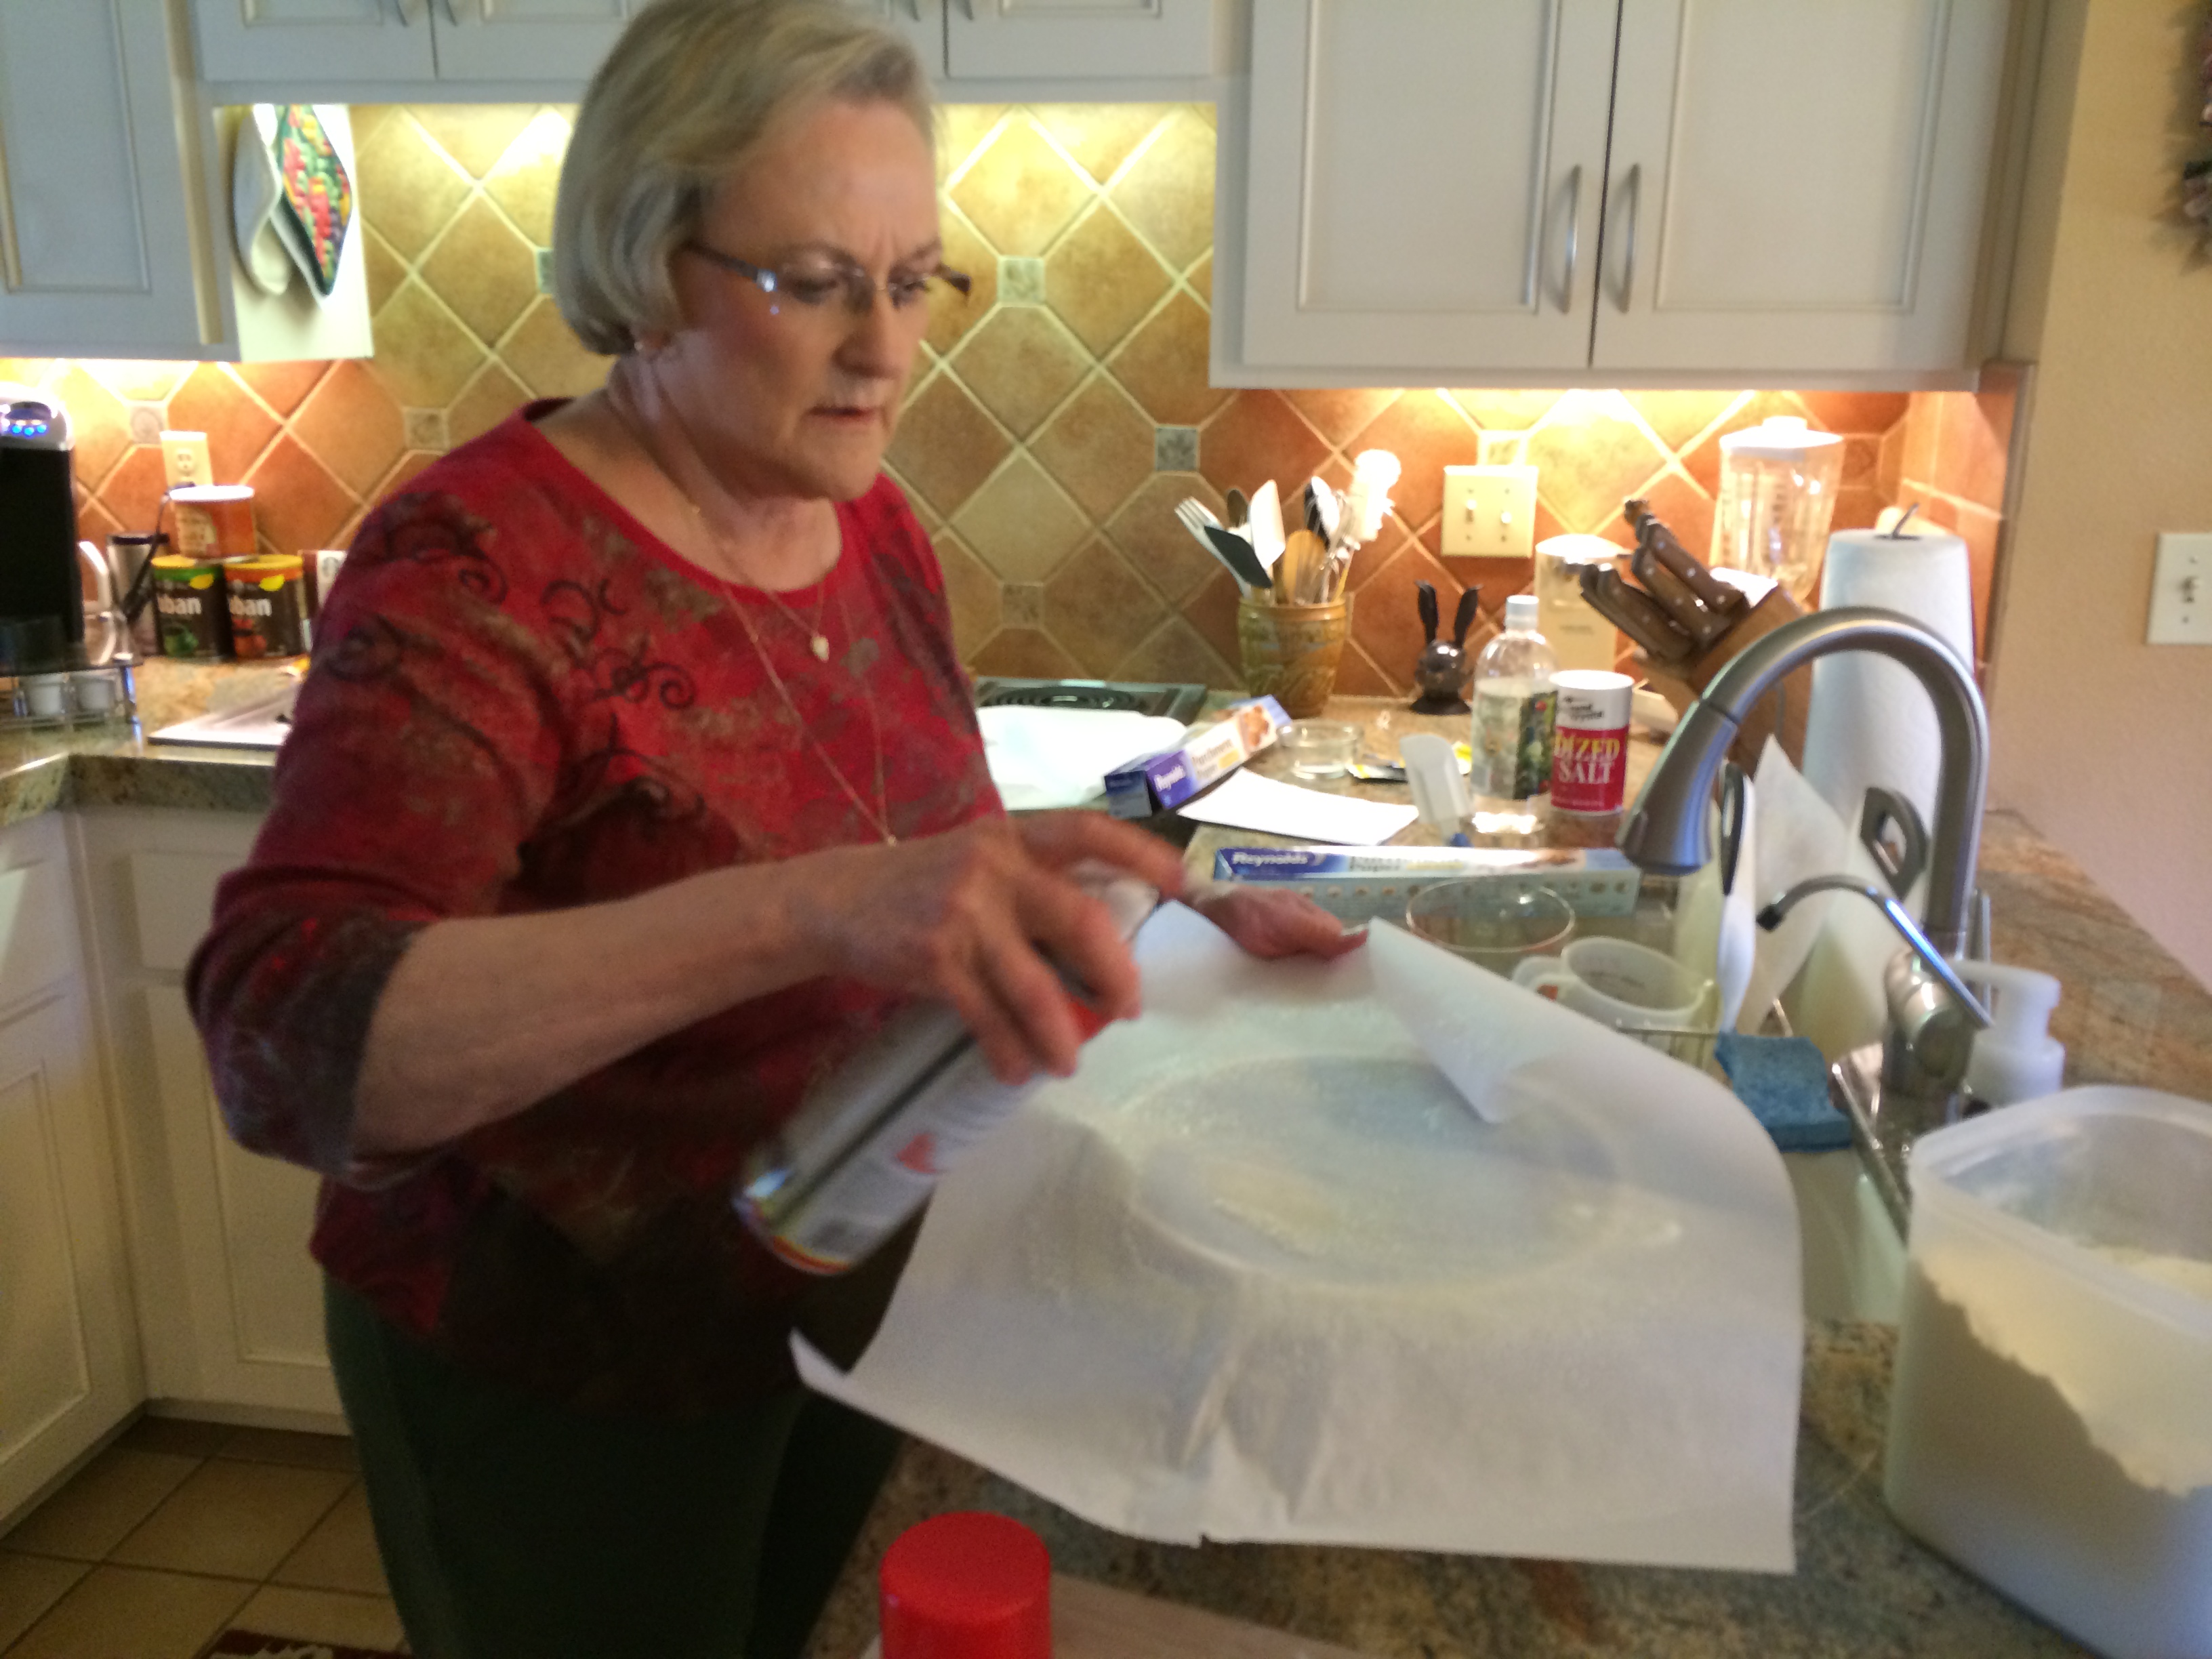
She uses the Kirkland brand from Costco.

Transfer dough to lightly floured work surface… Lucky for us, she made a batch last evening to sit at room temp for 18 hours, to show us the next step.
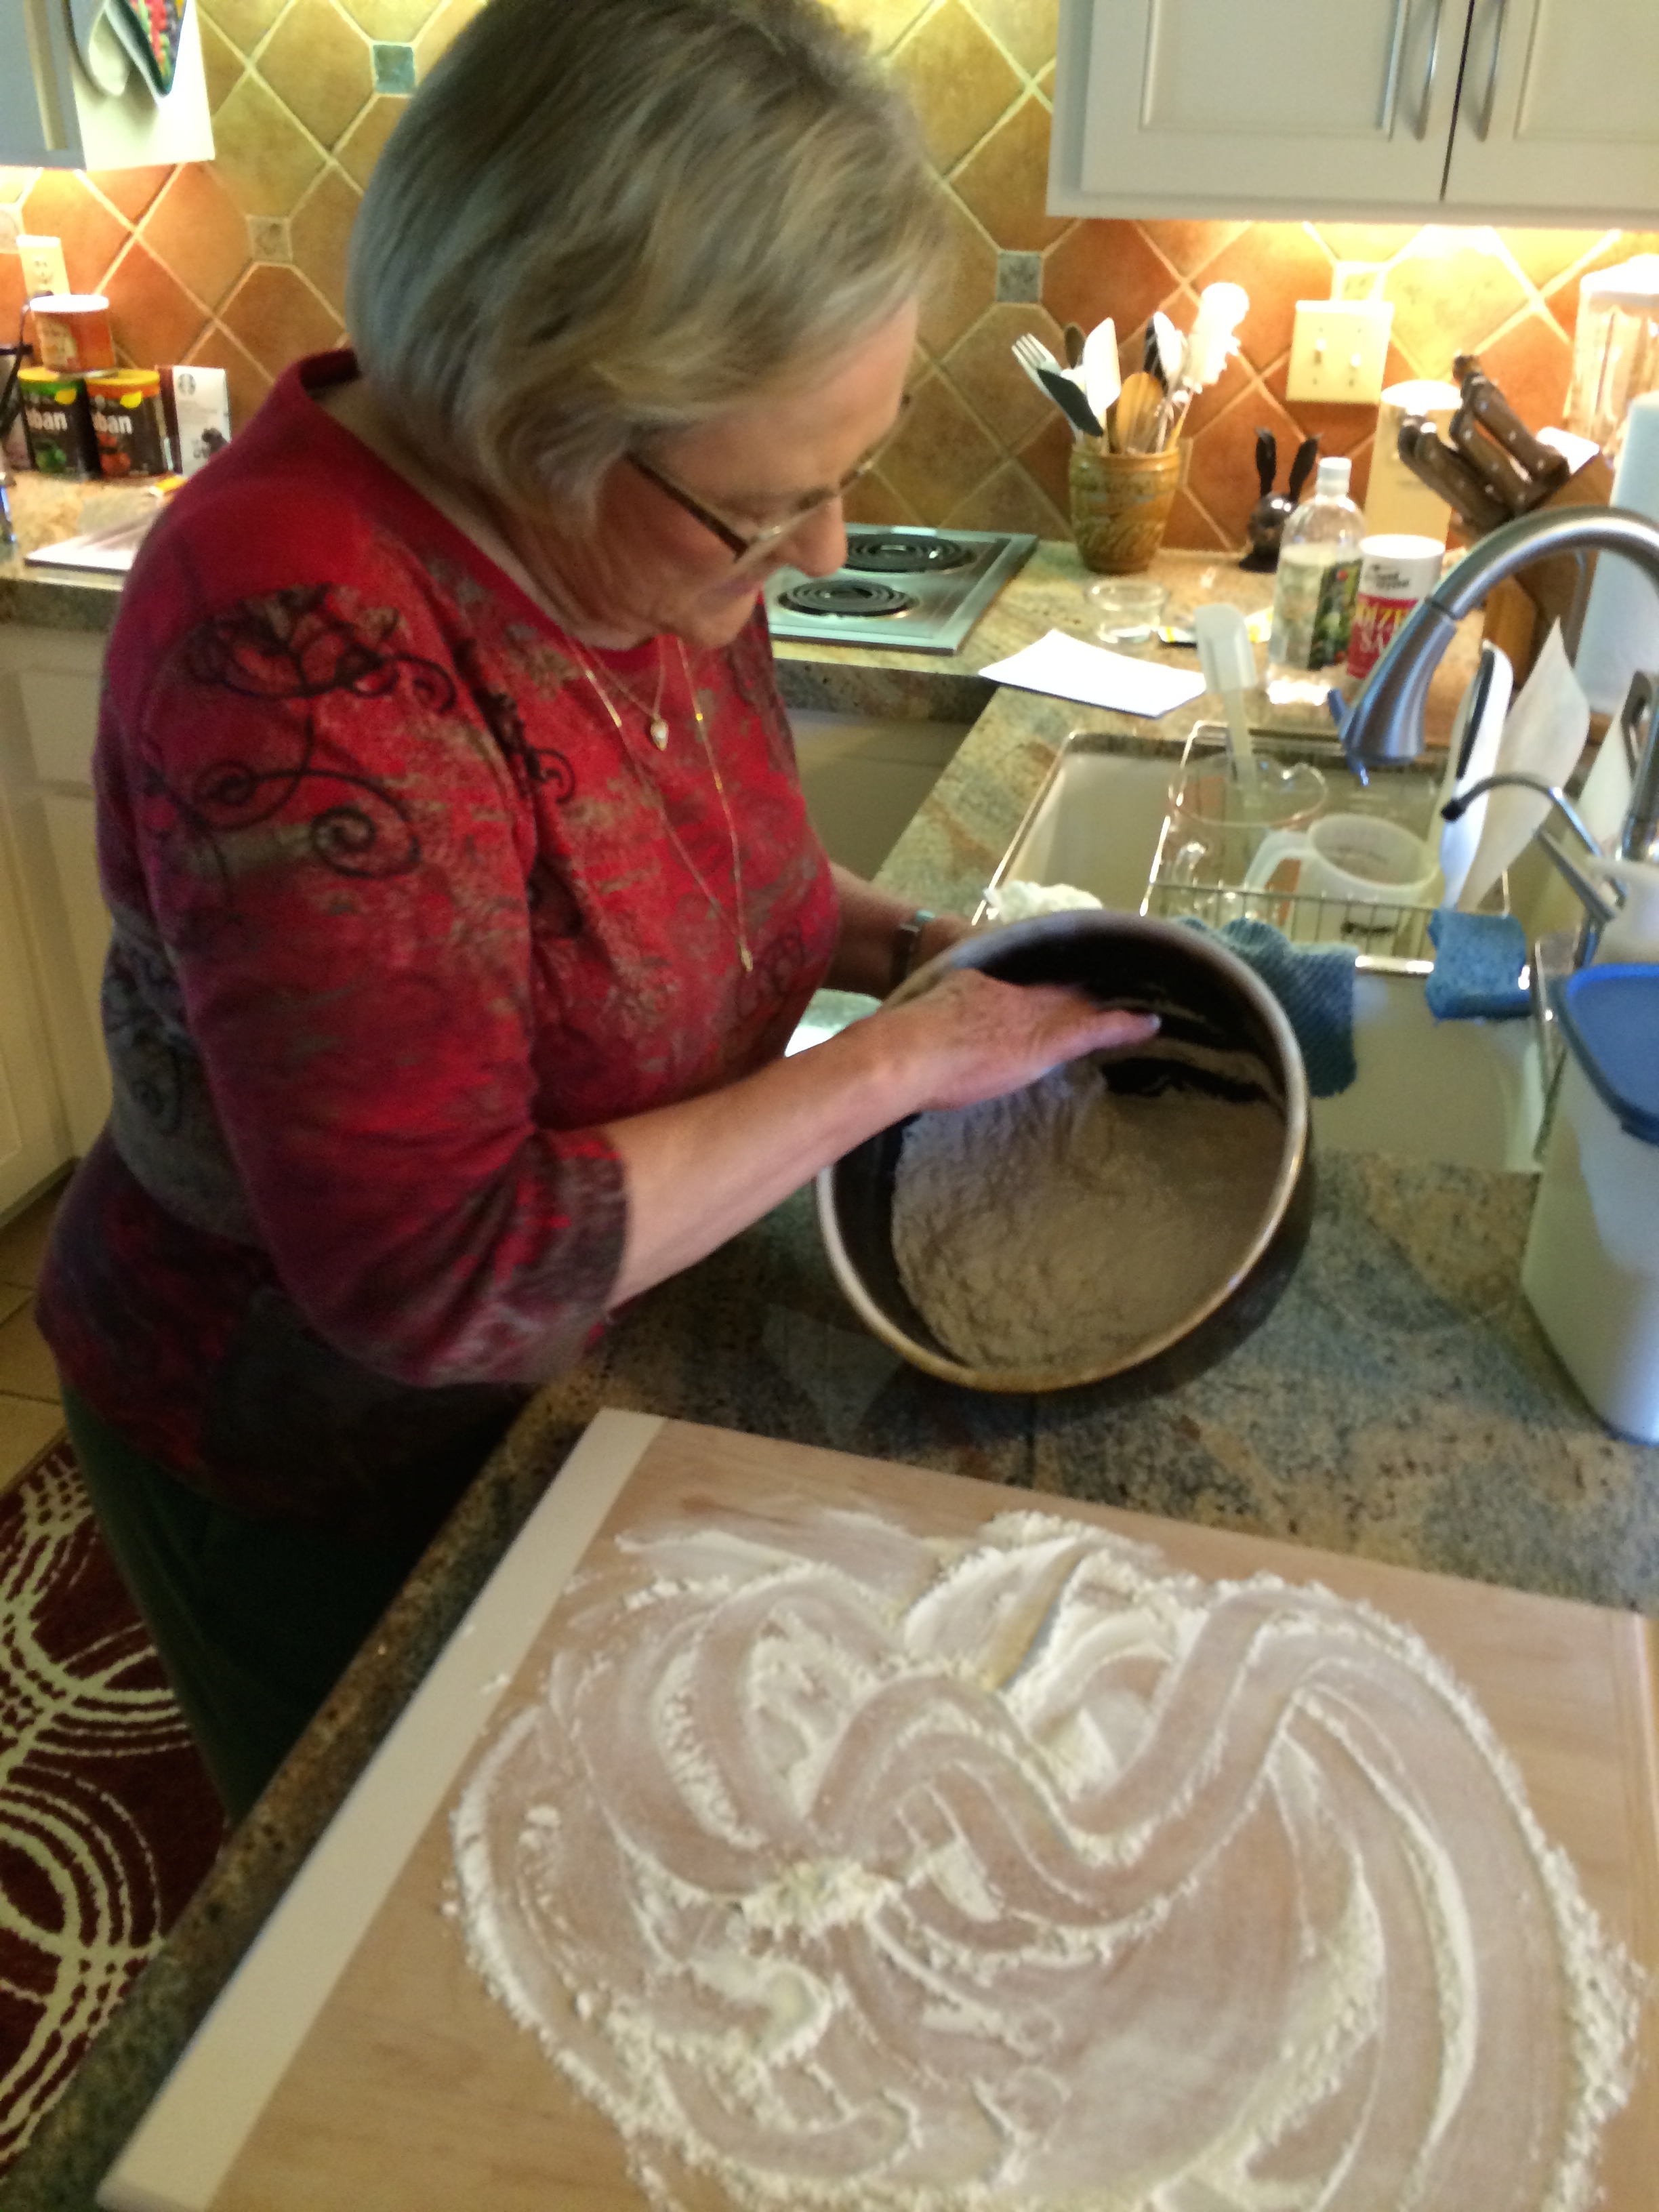
Fun – FUN!
Just about ready to dump out the dough.
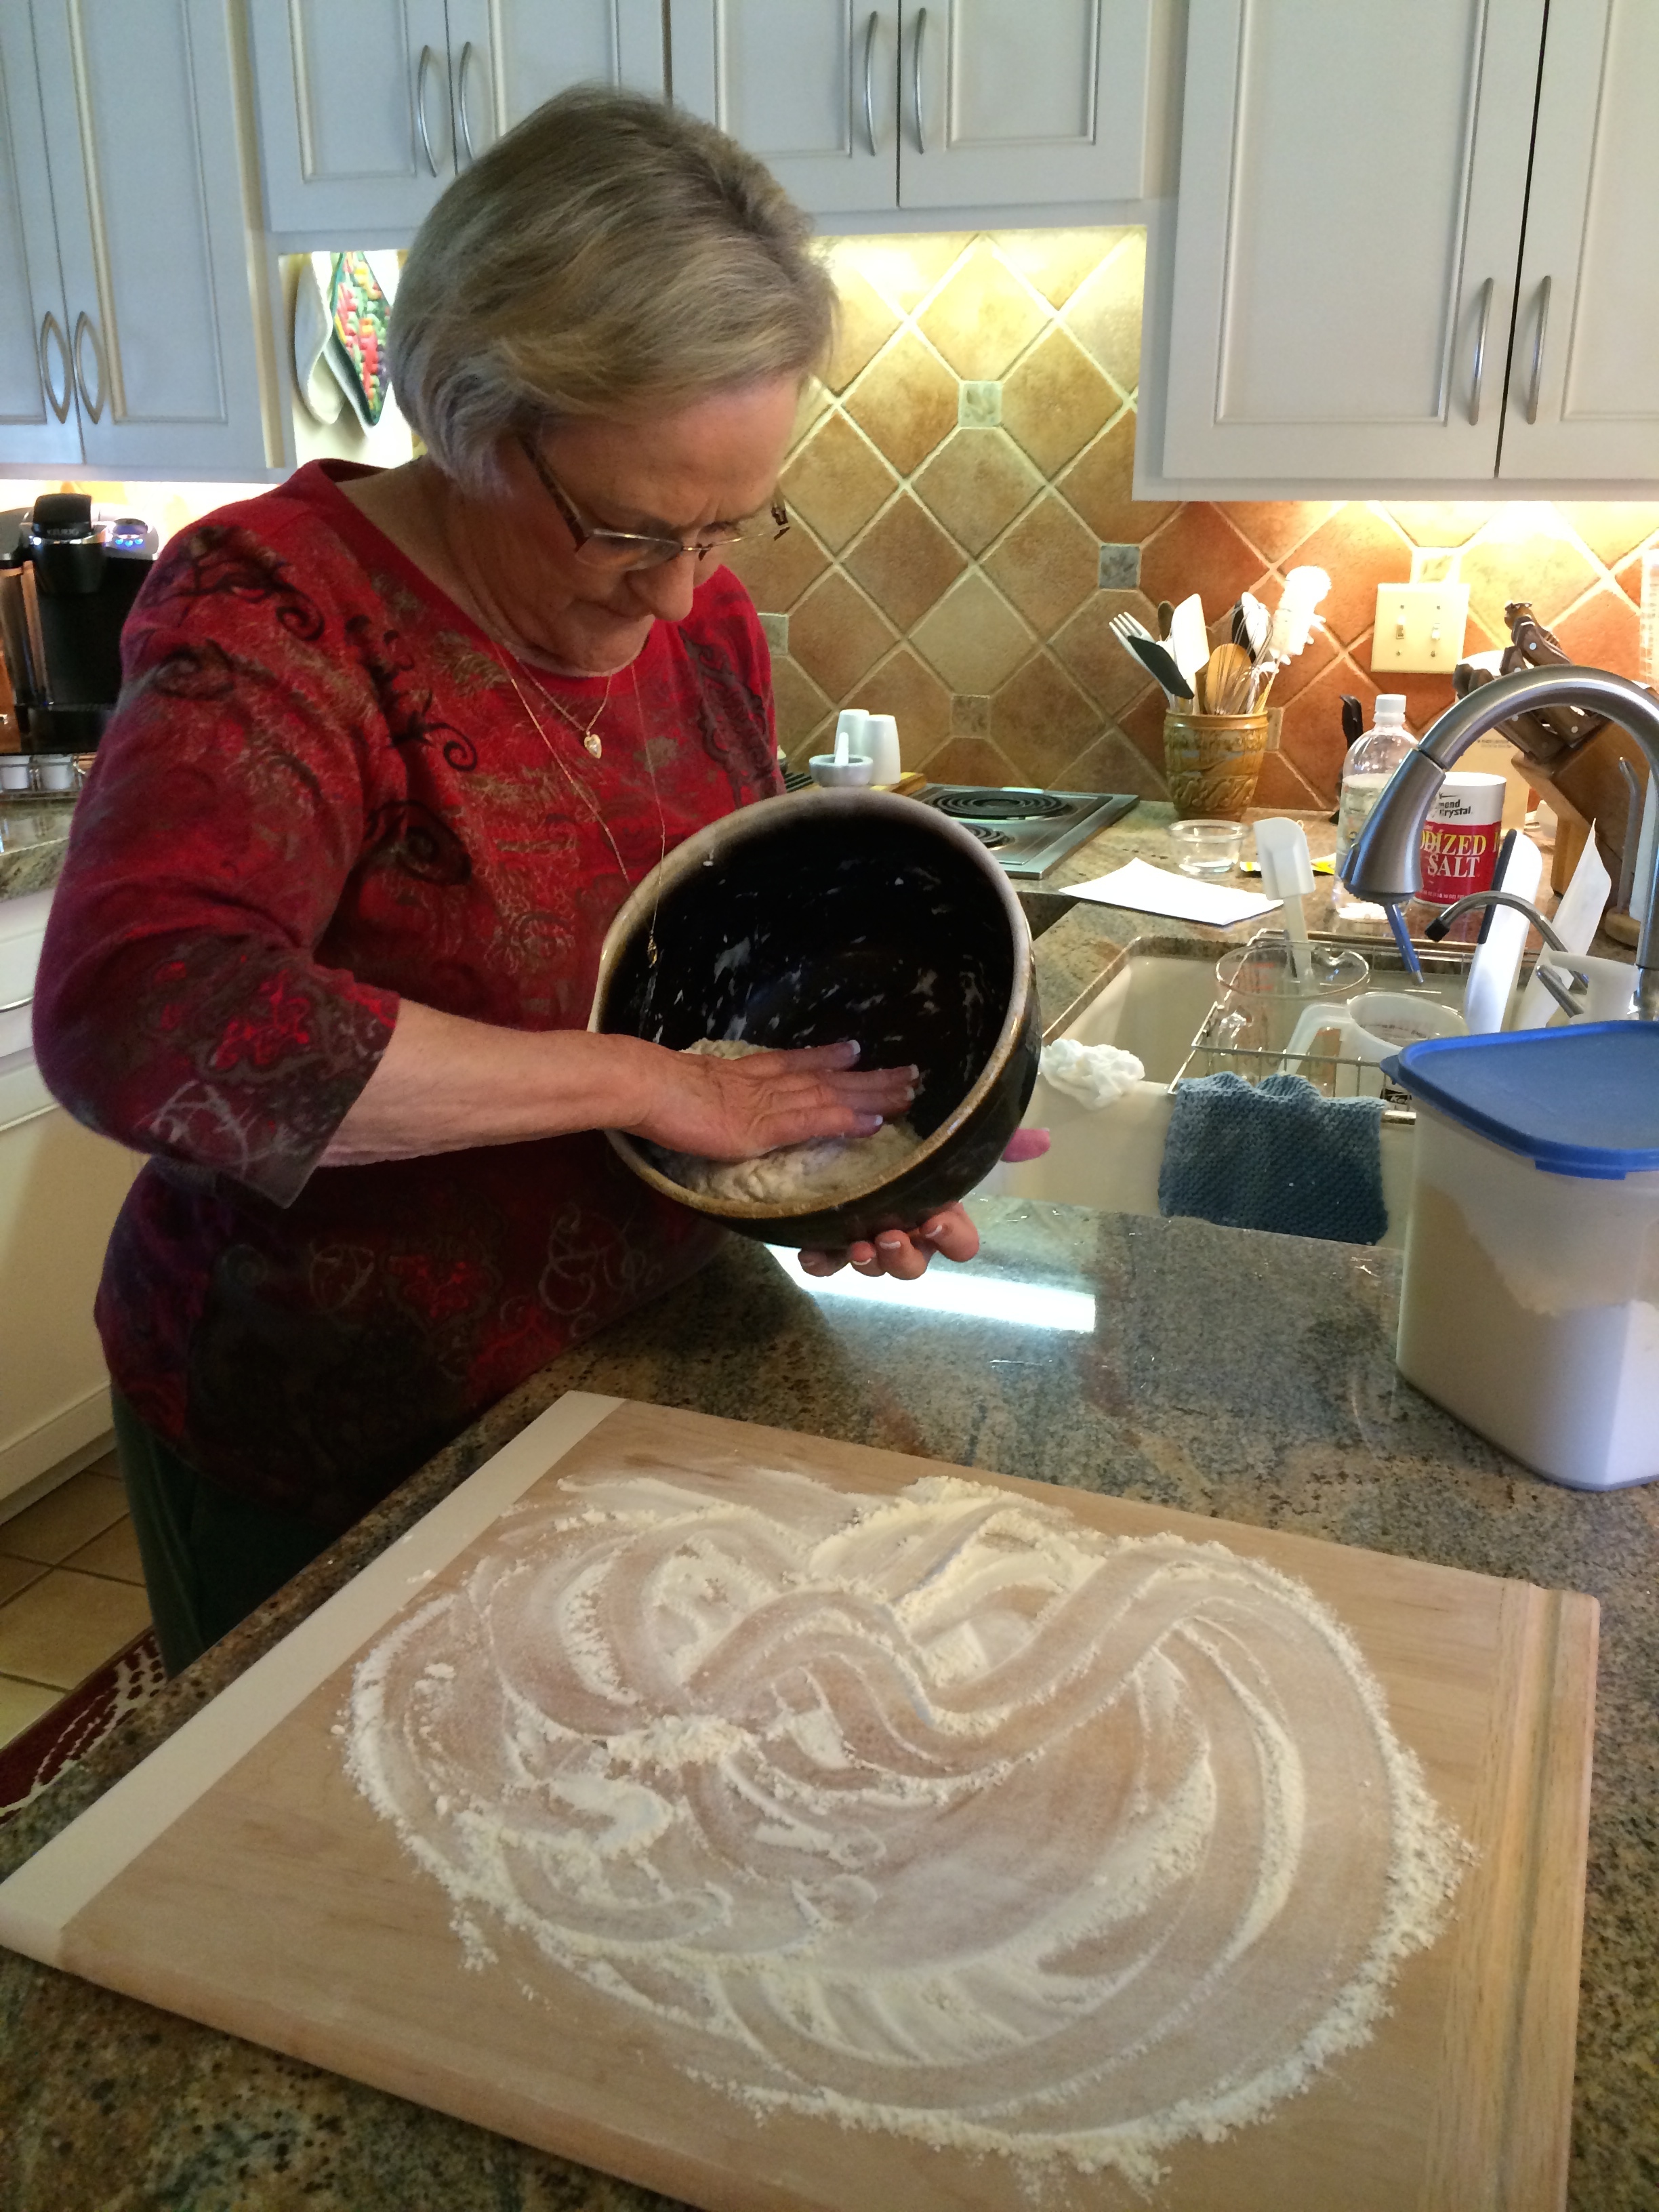
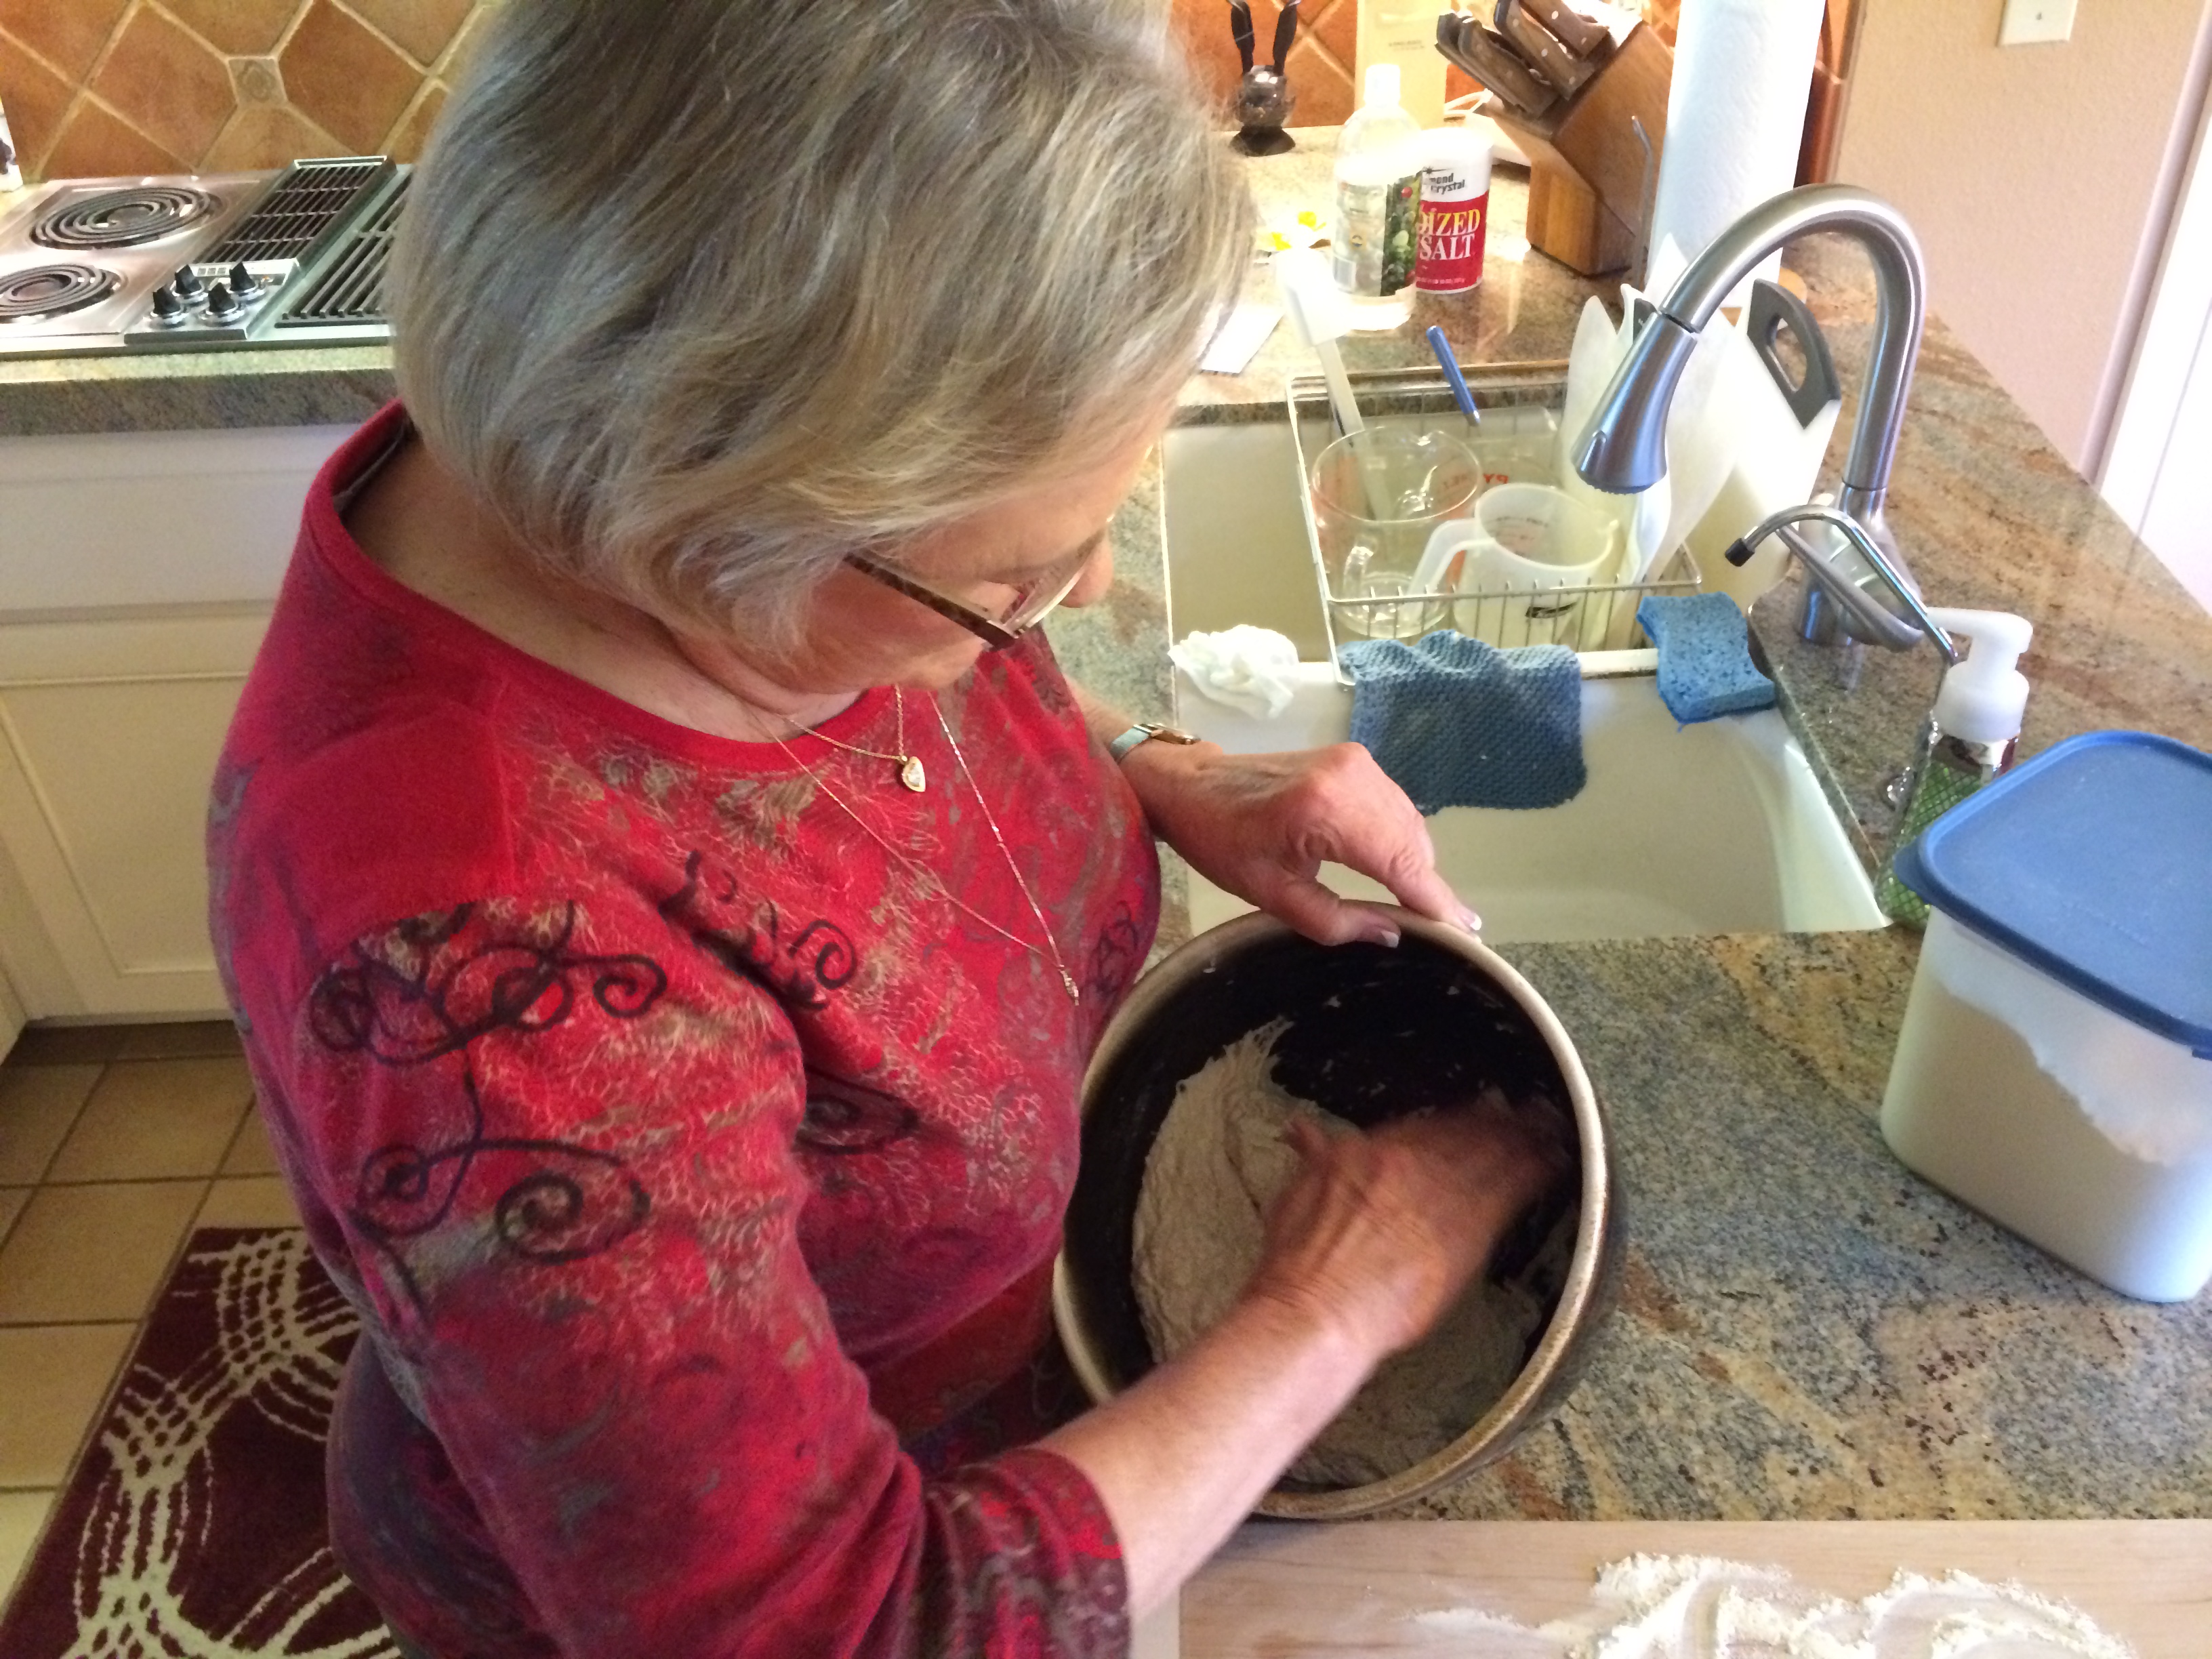
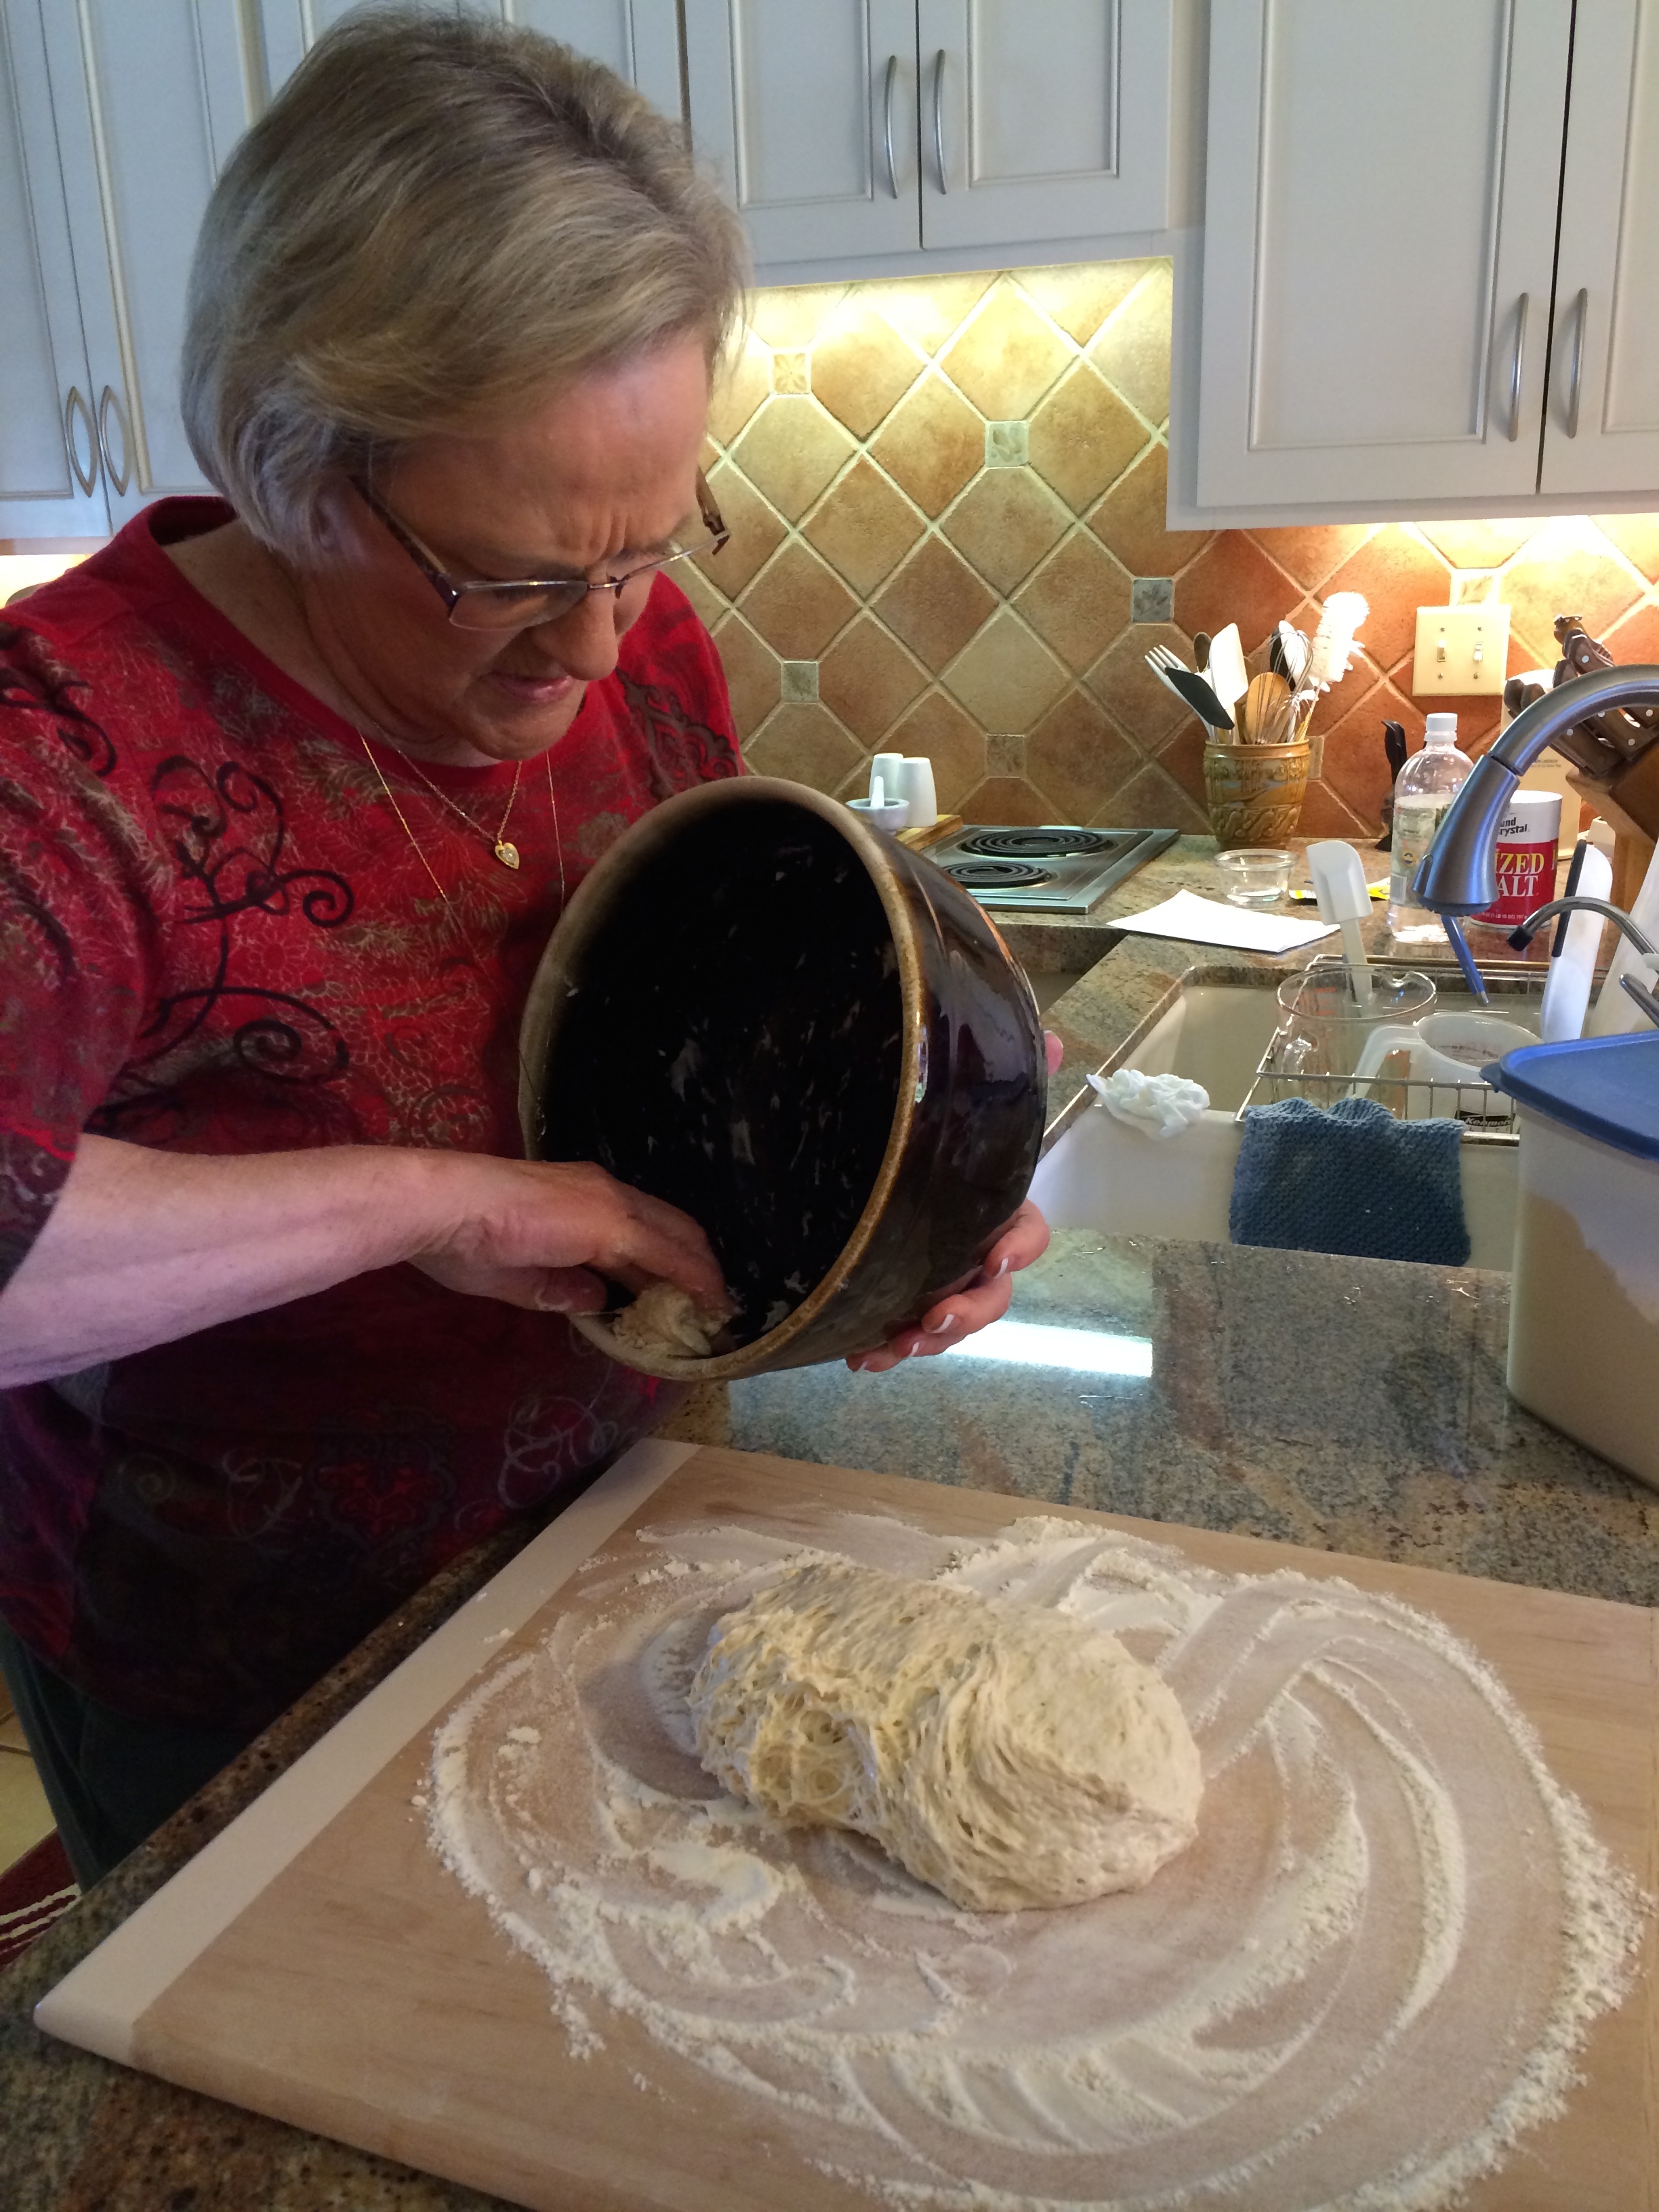
Out of the bowl and transferred to the prepared surface.
And scooping out the last bit of dough.
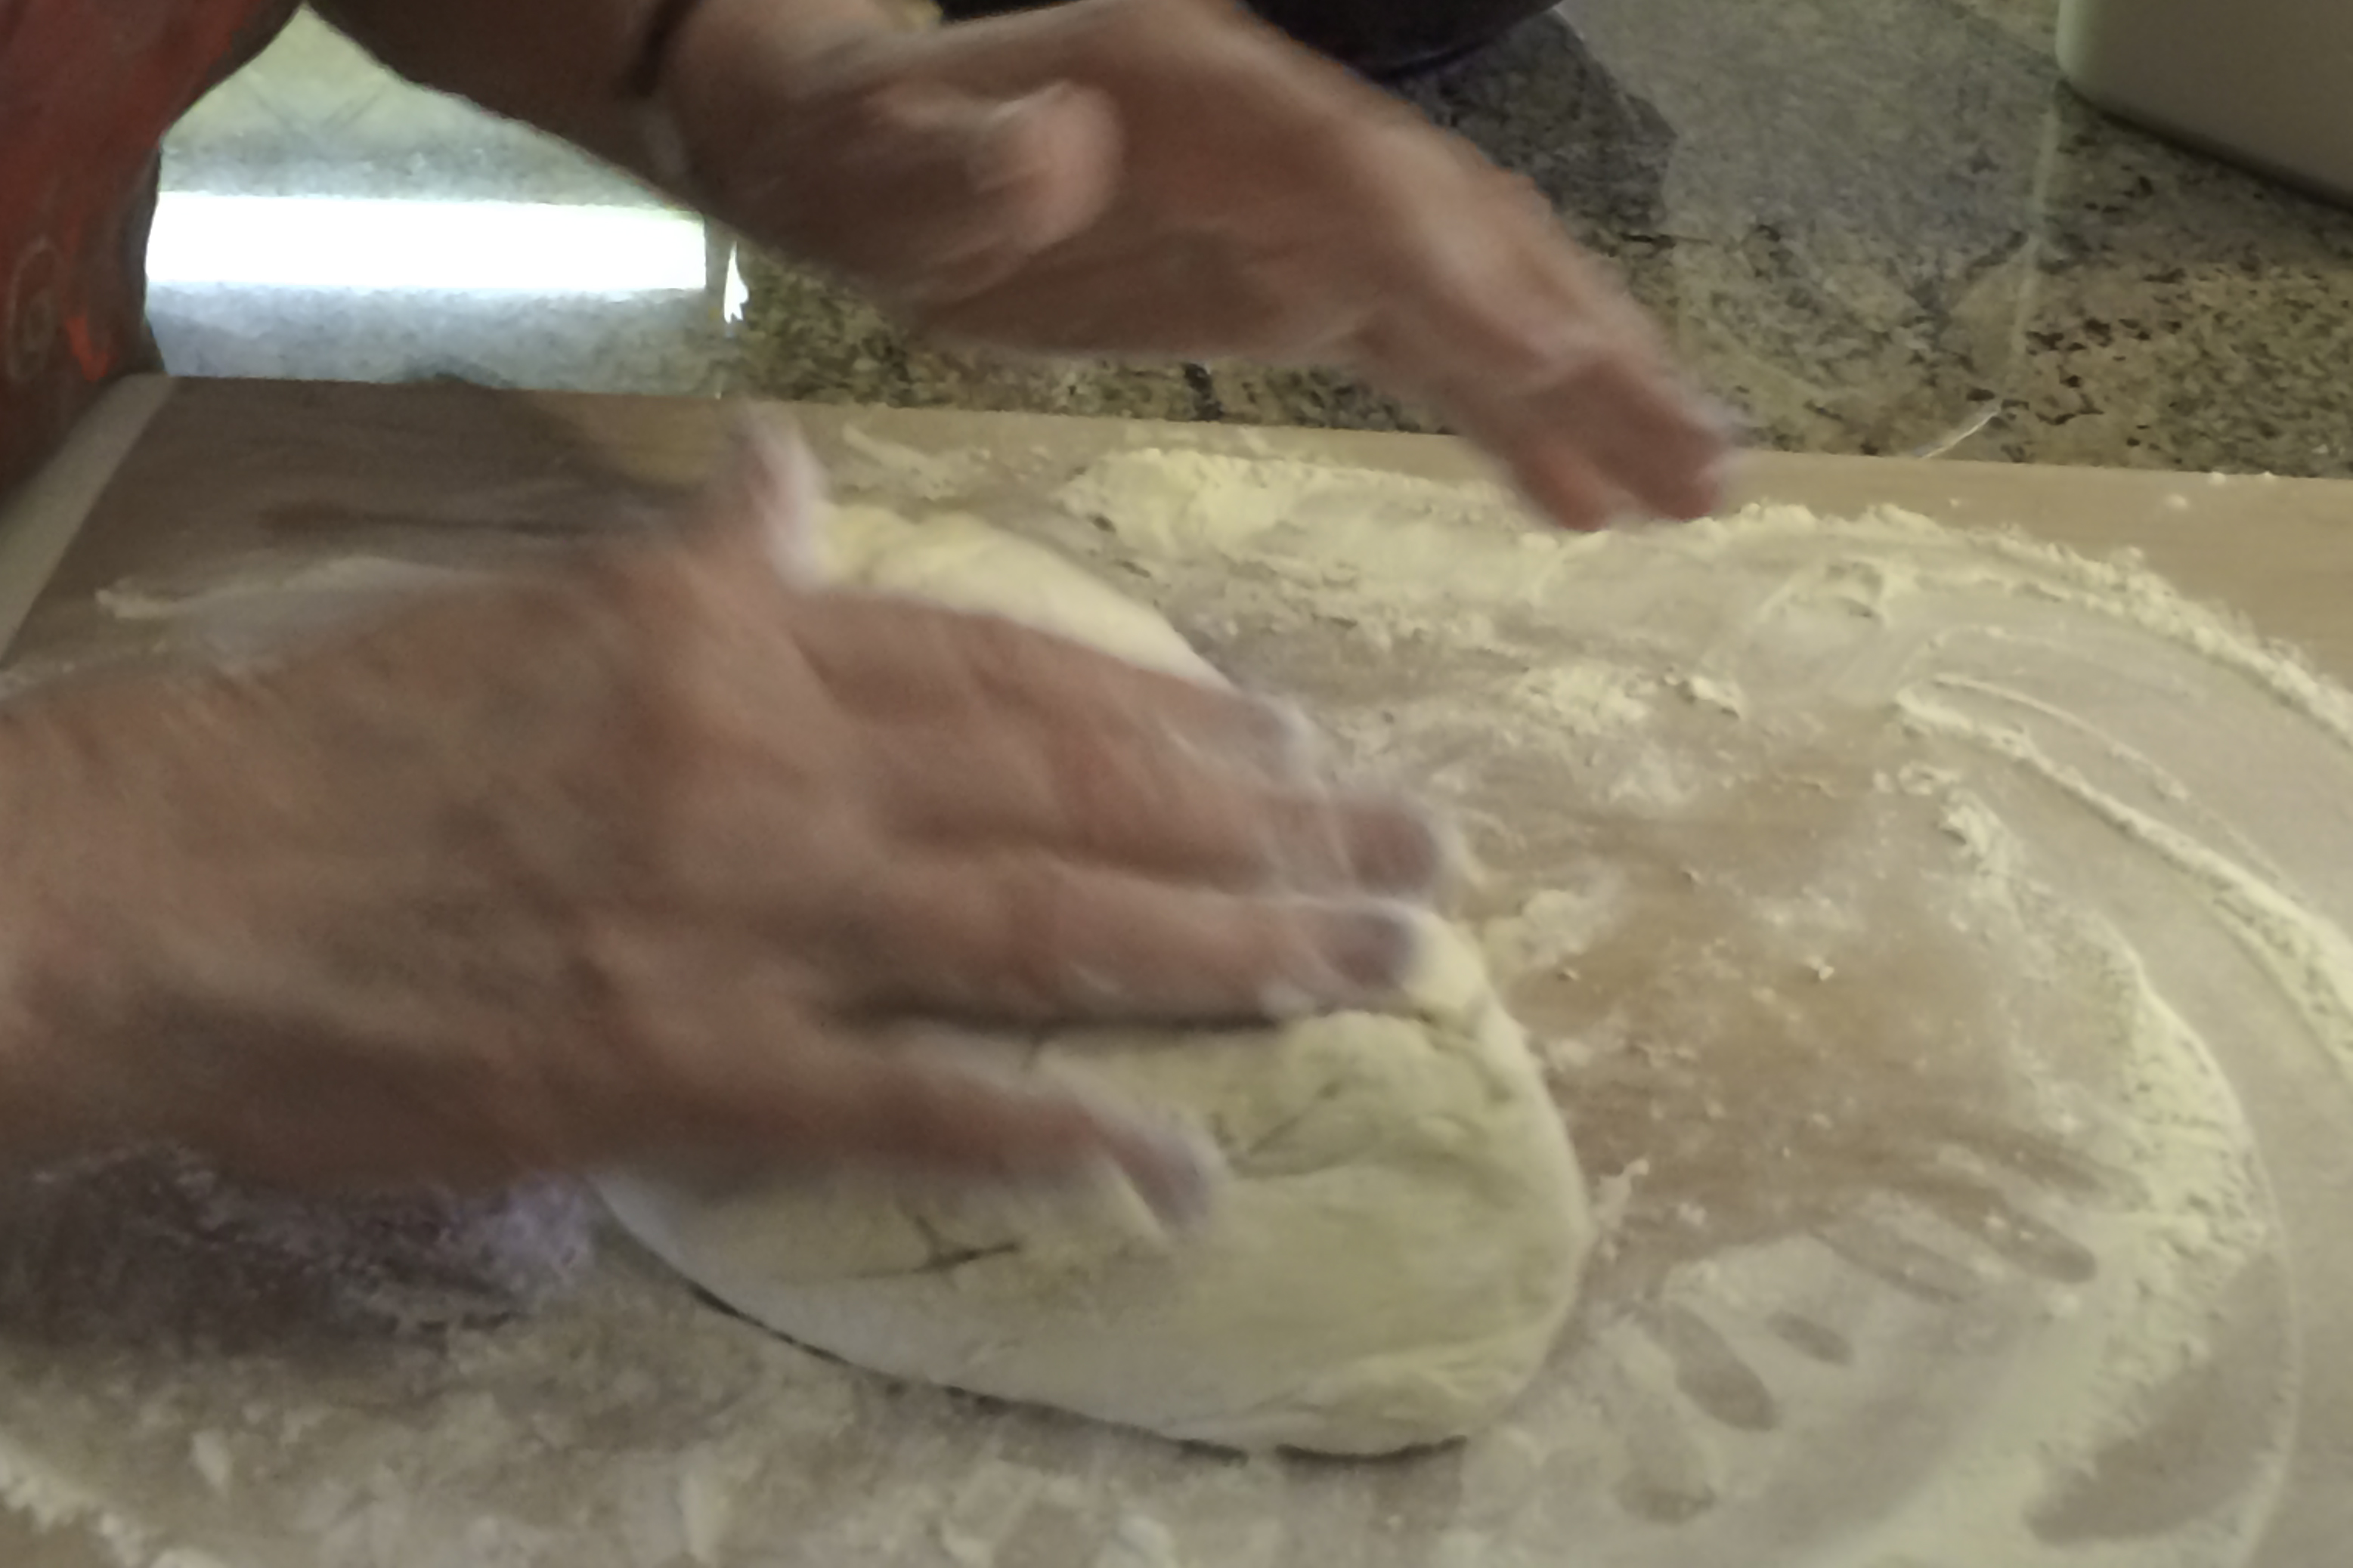
Then knead 10 to 15 times.
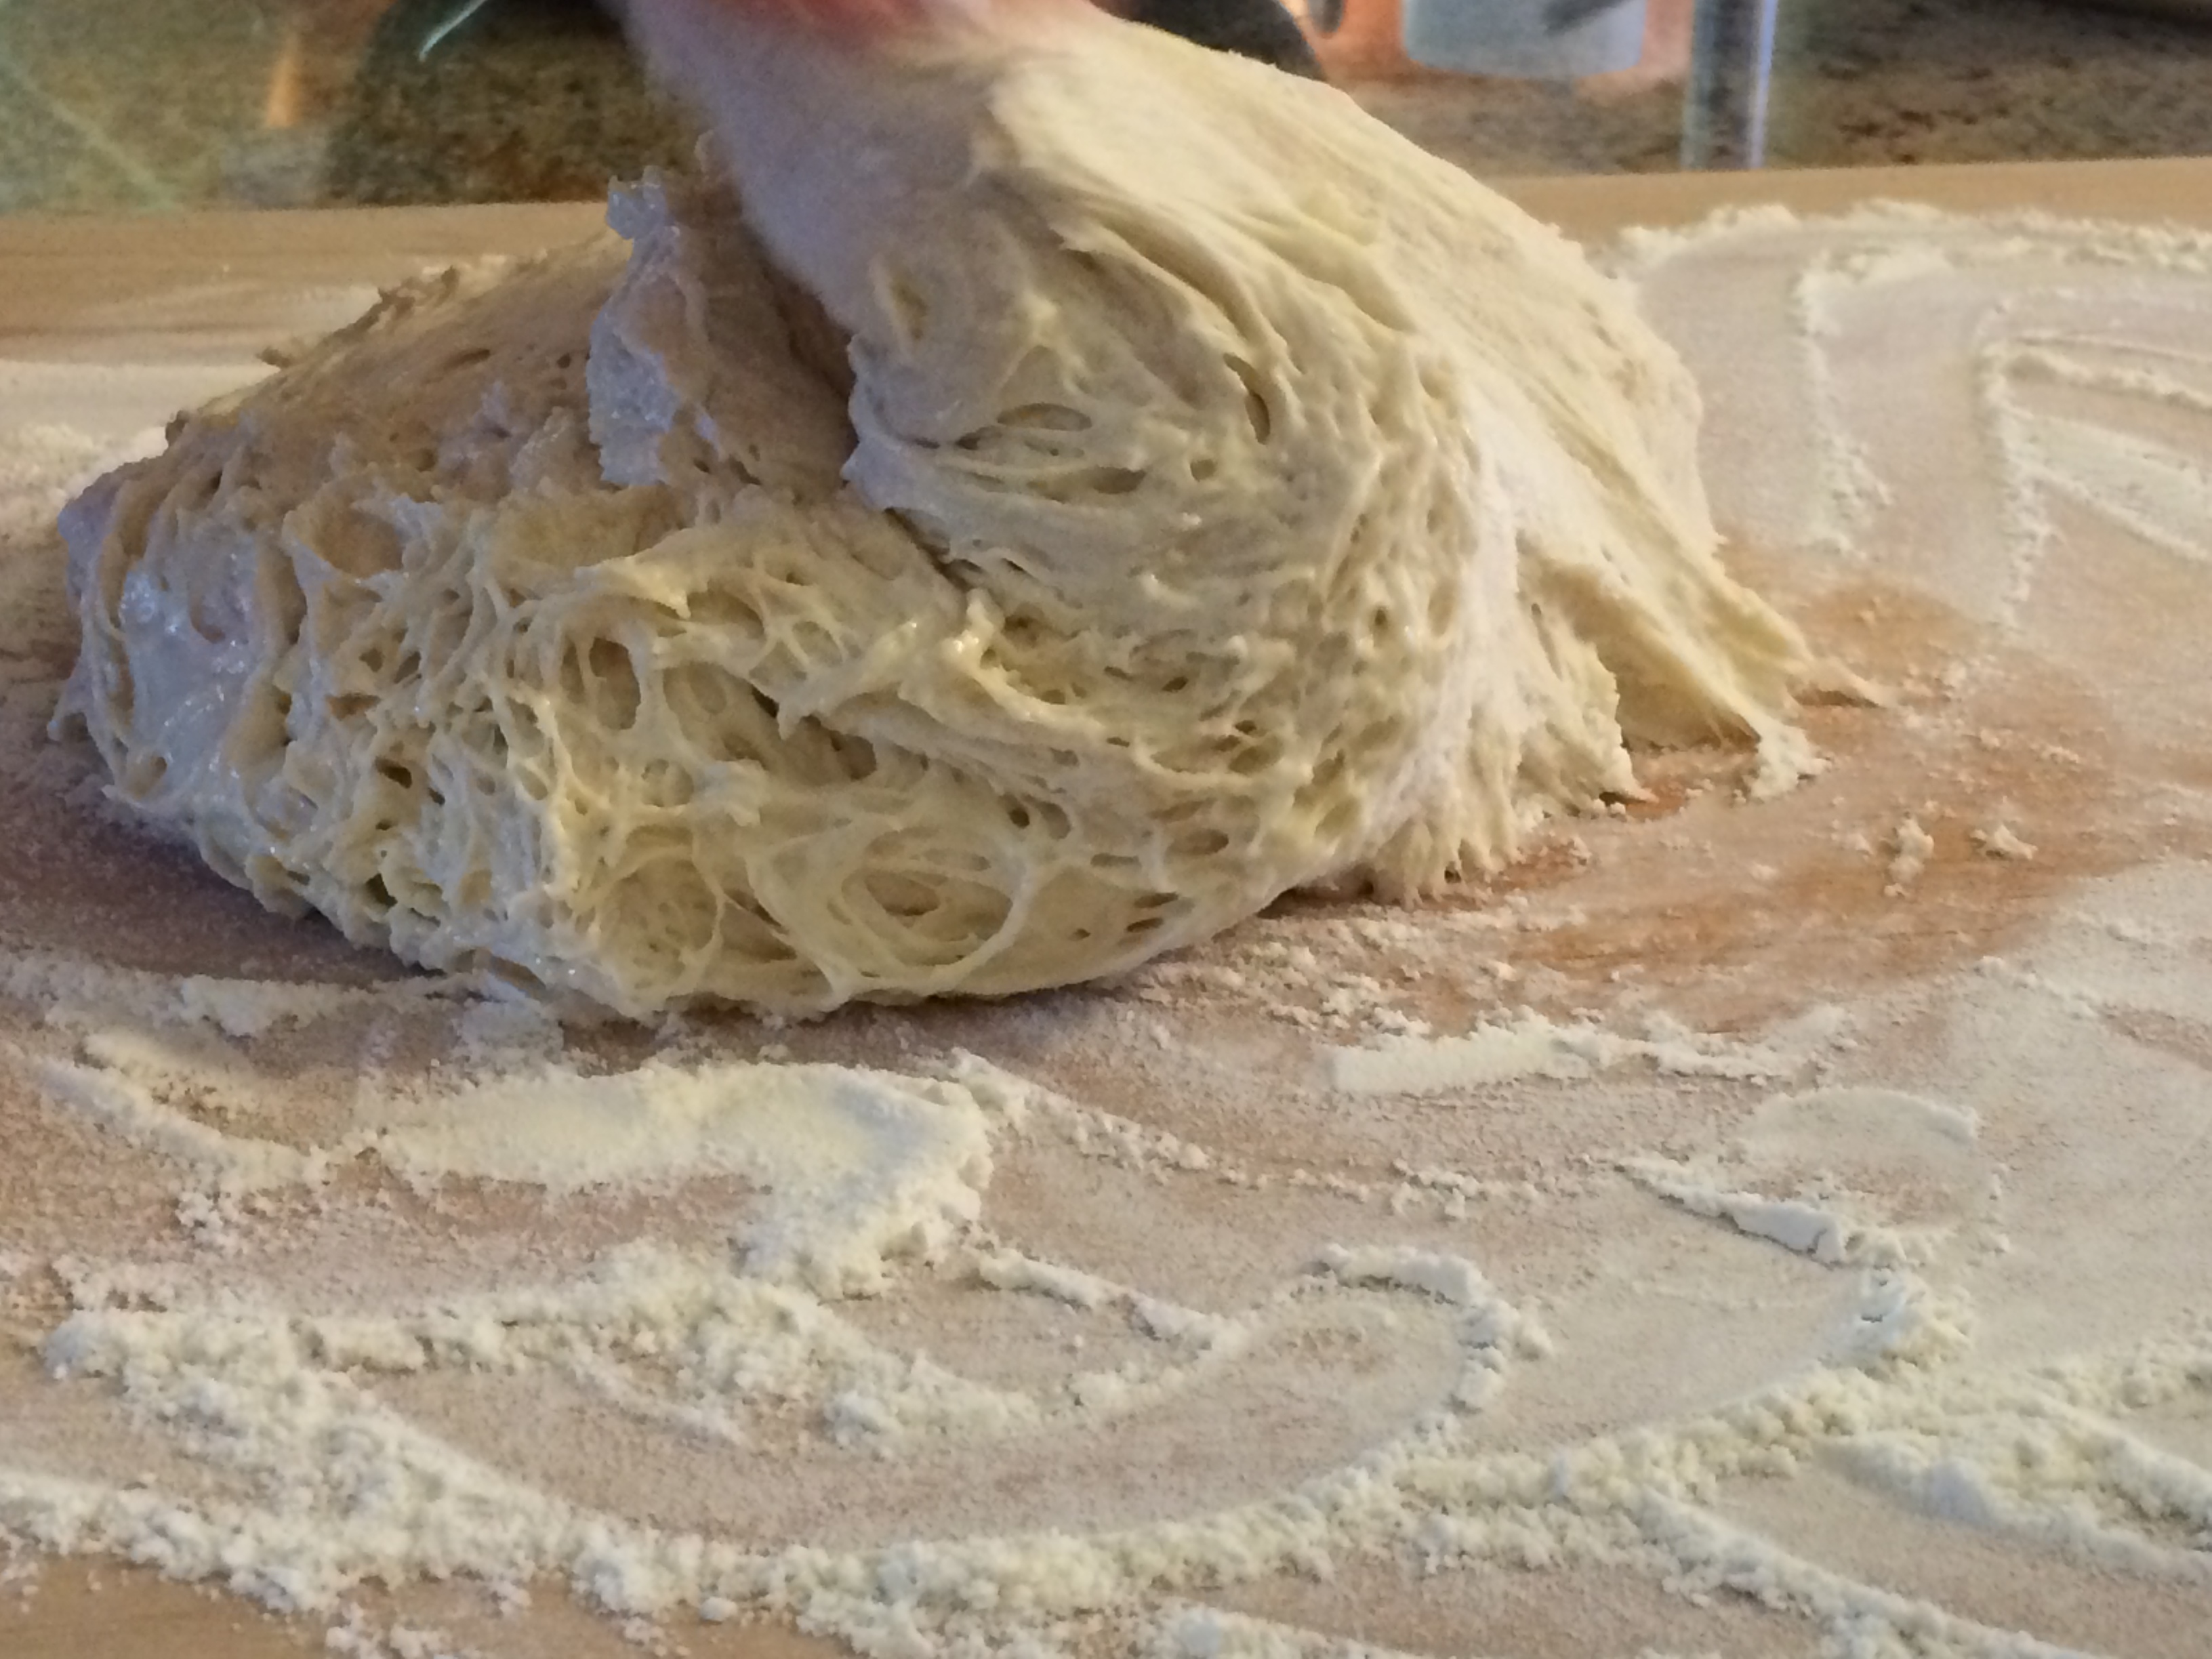
Add more flour to the work surface as needed. She said “don’t be afraid to add more flour to the prepared surface and into the folds, girls!”
Knead
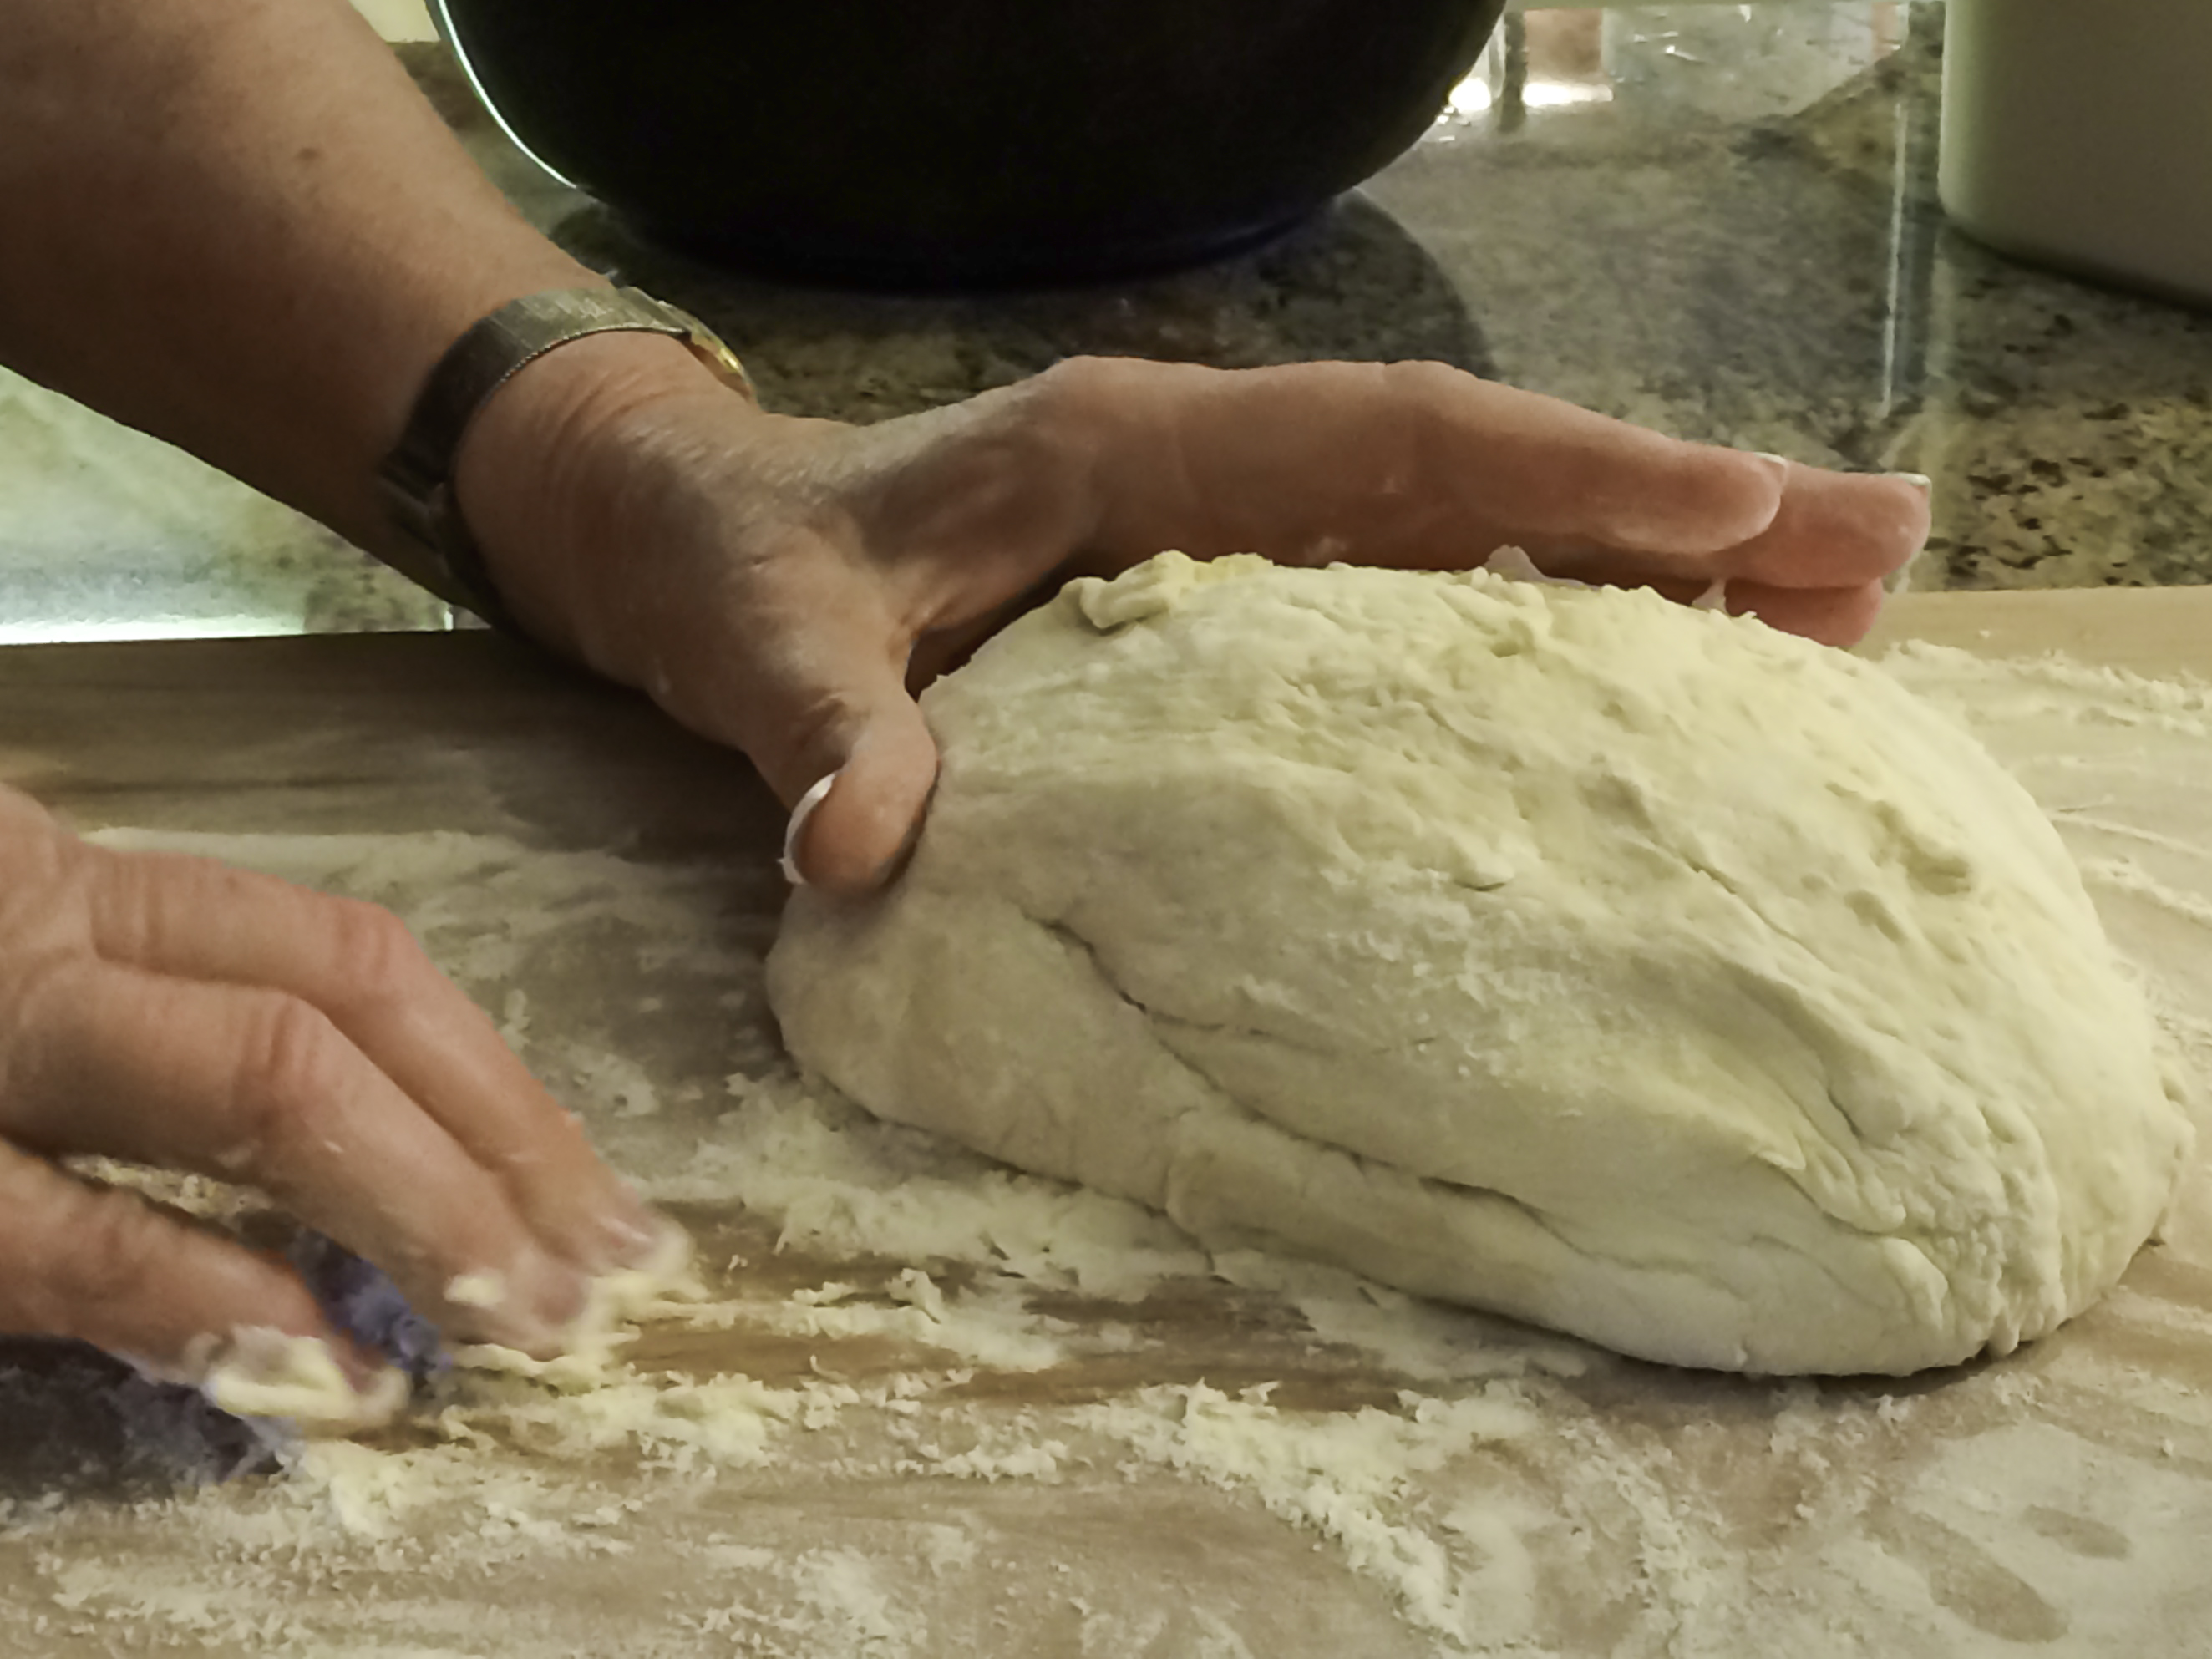
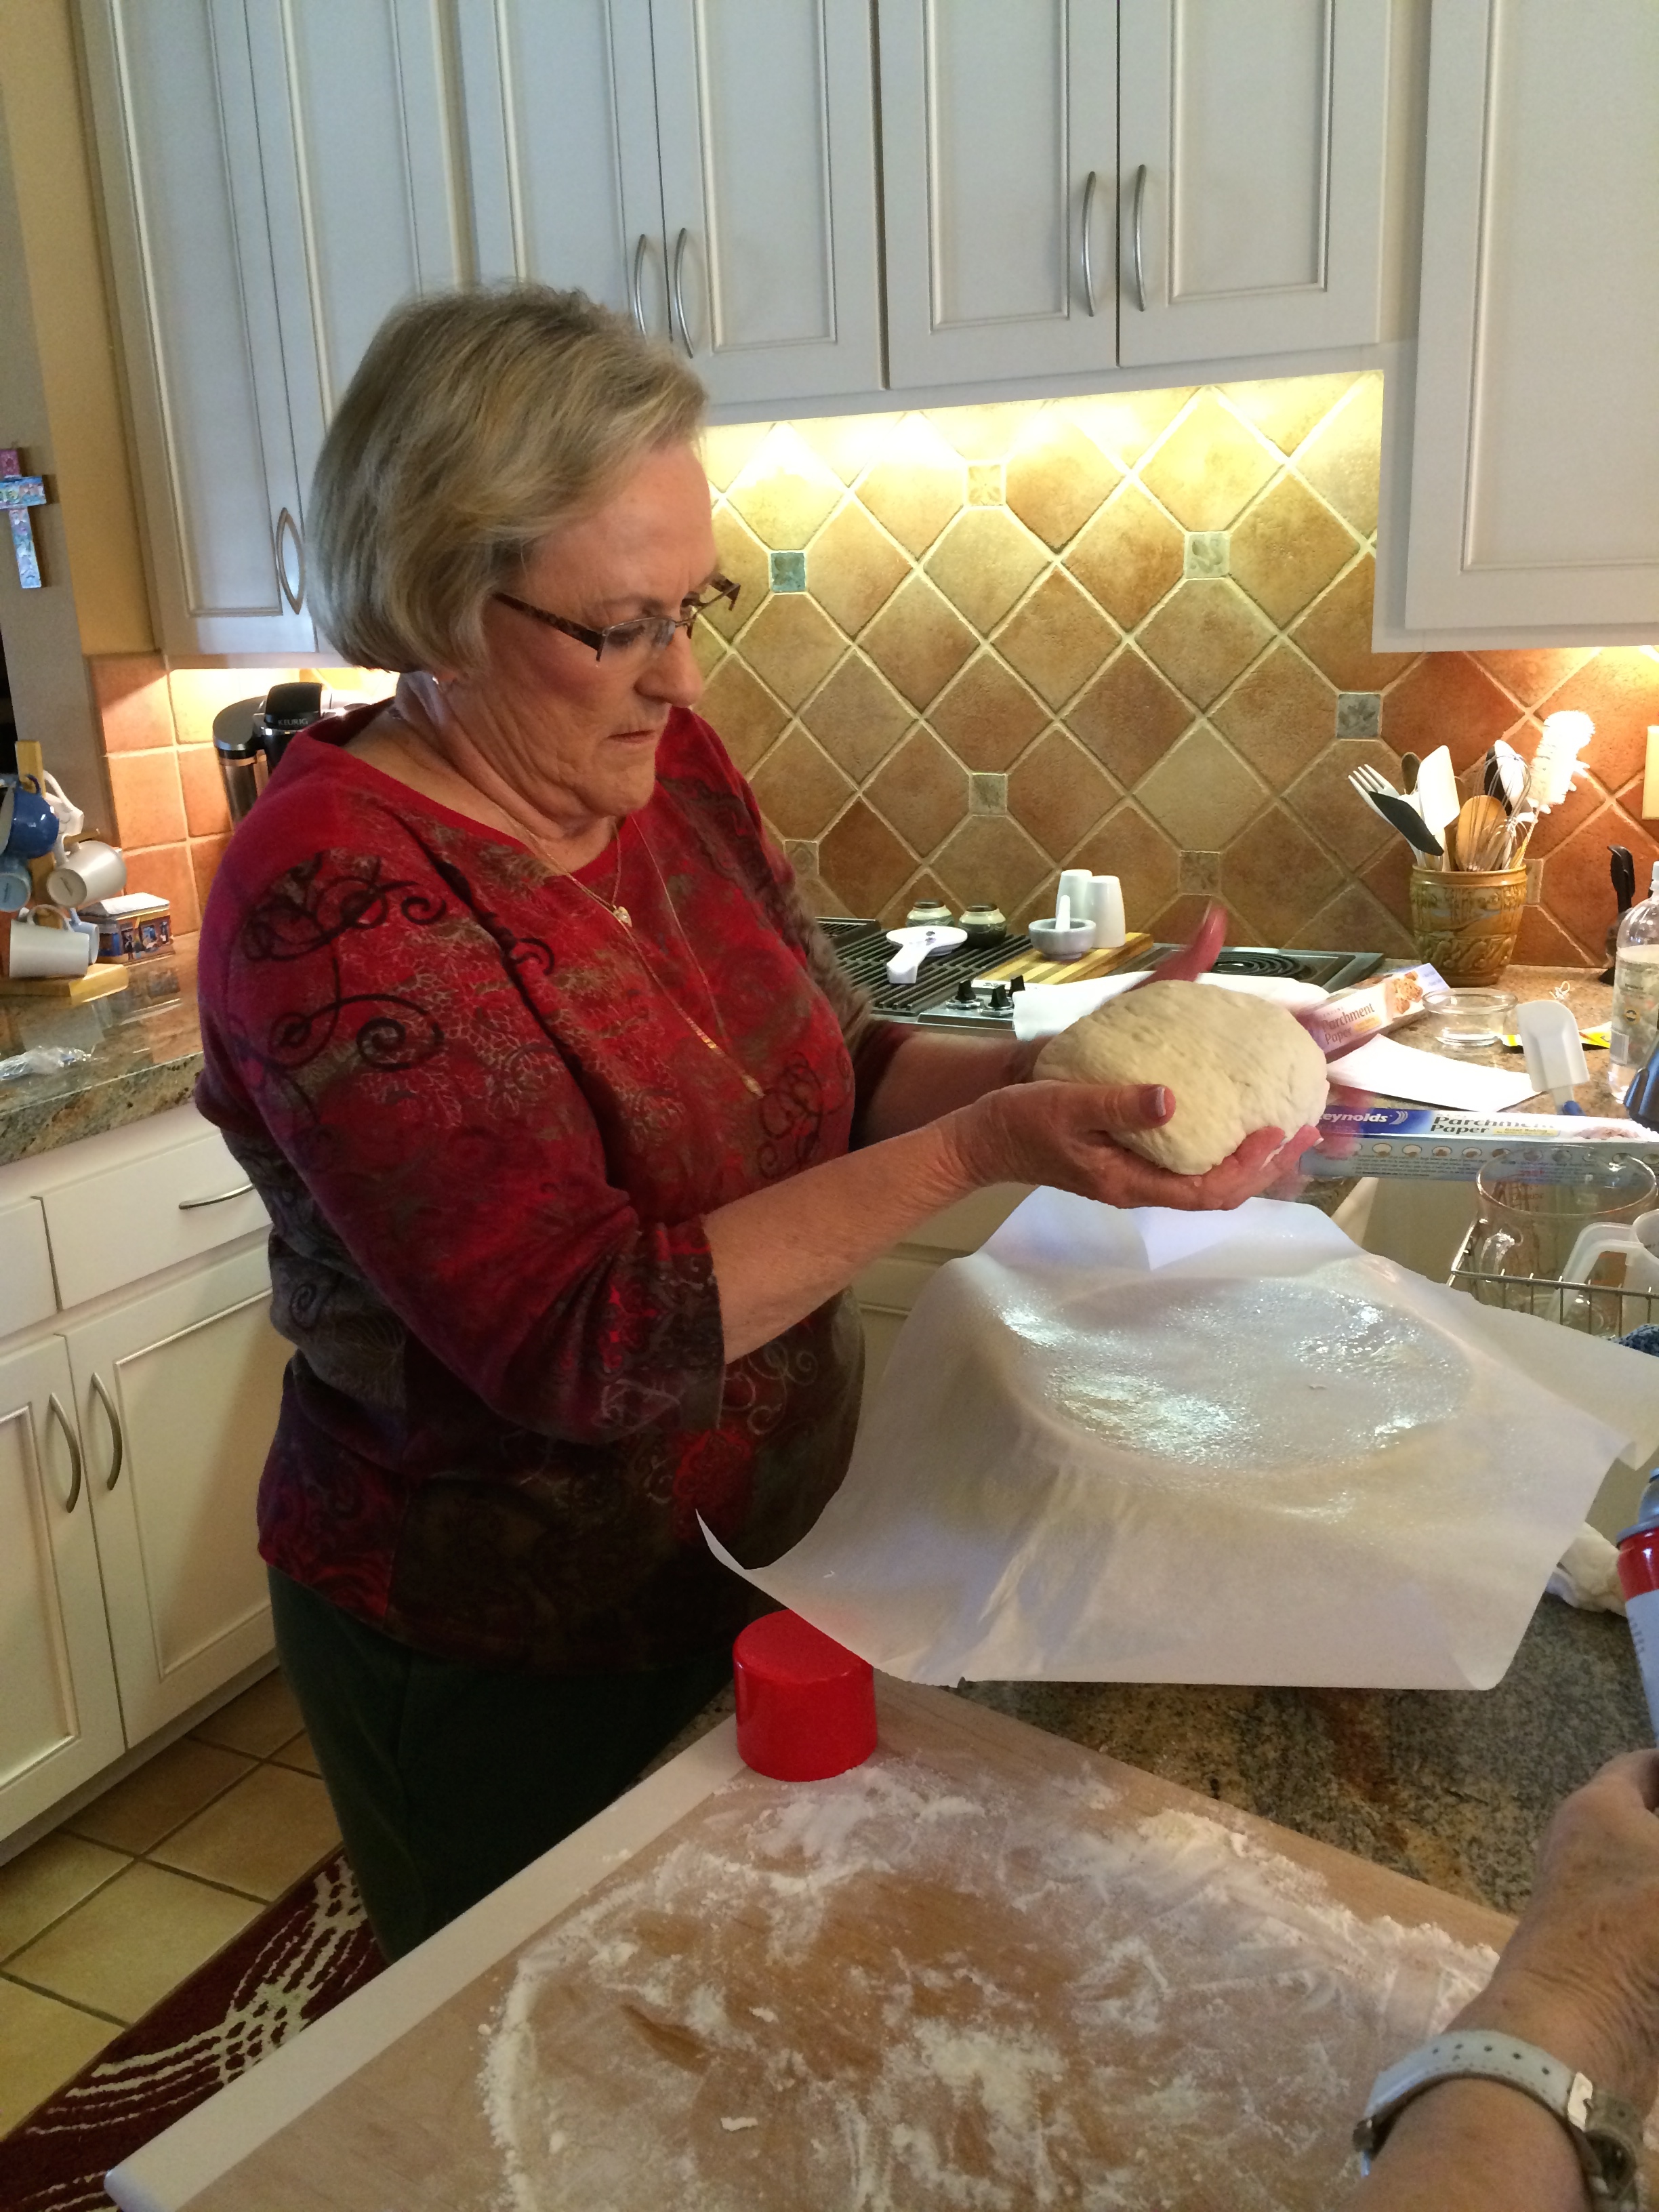
And finally kneading into a ball.
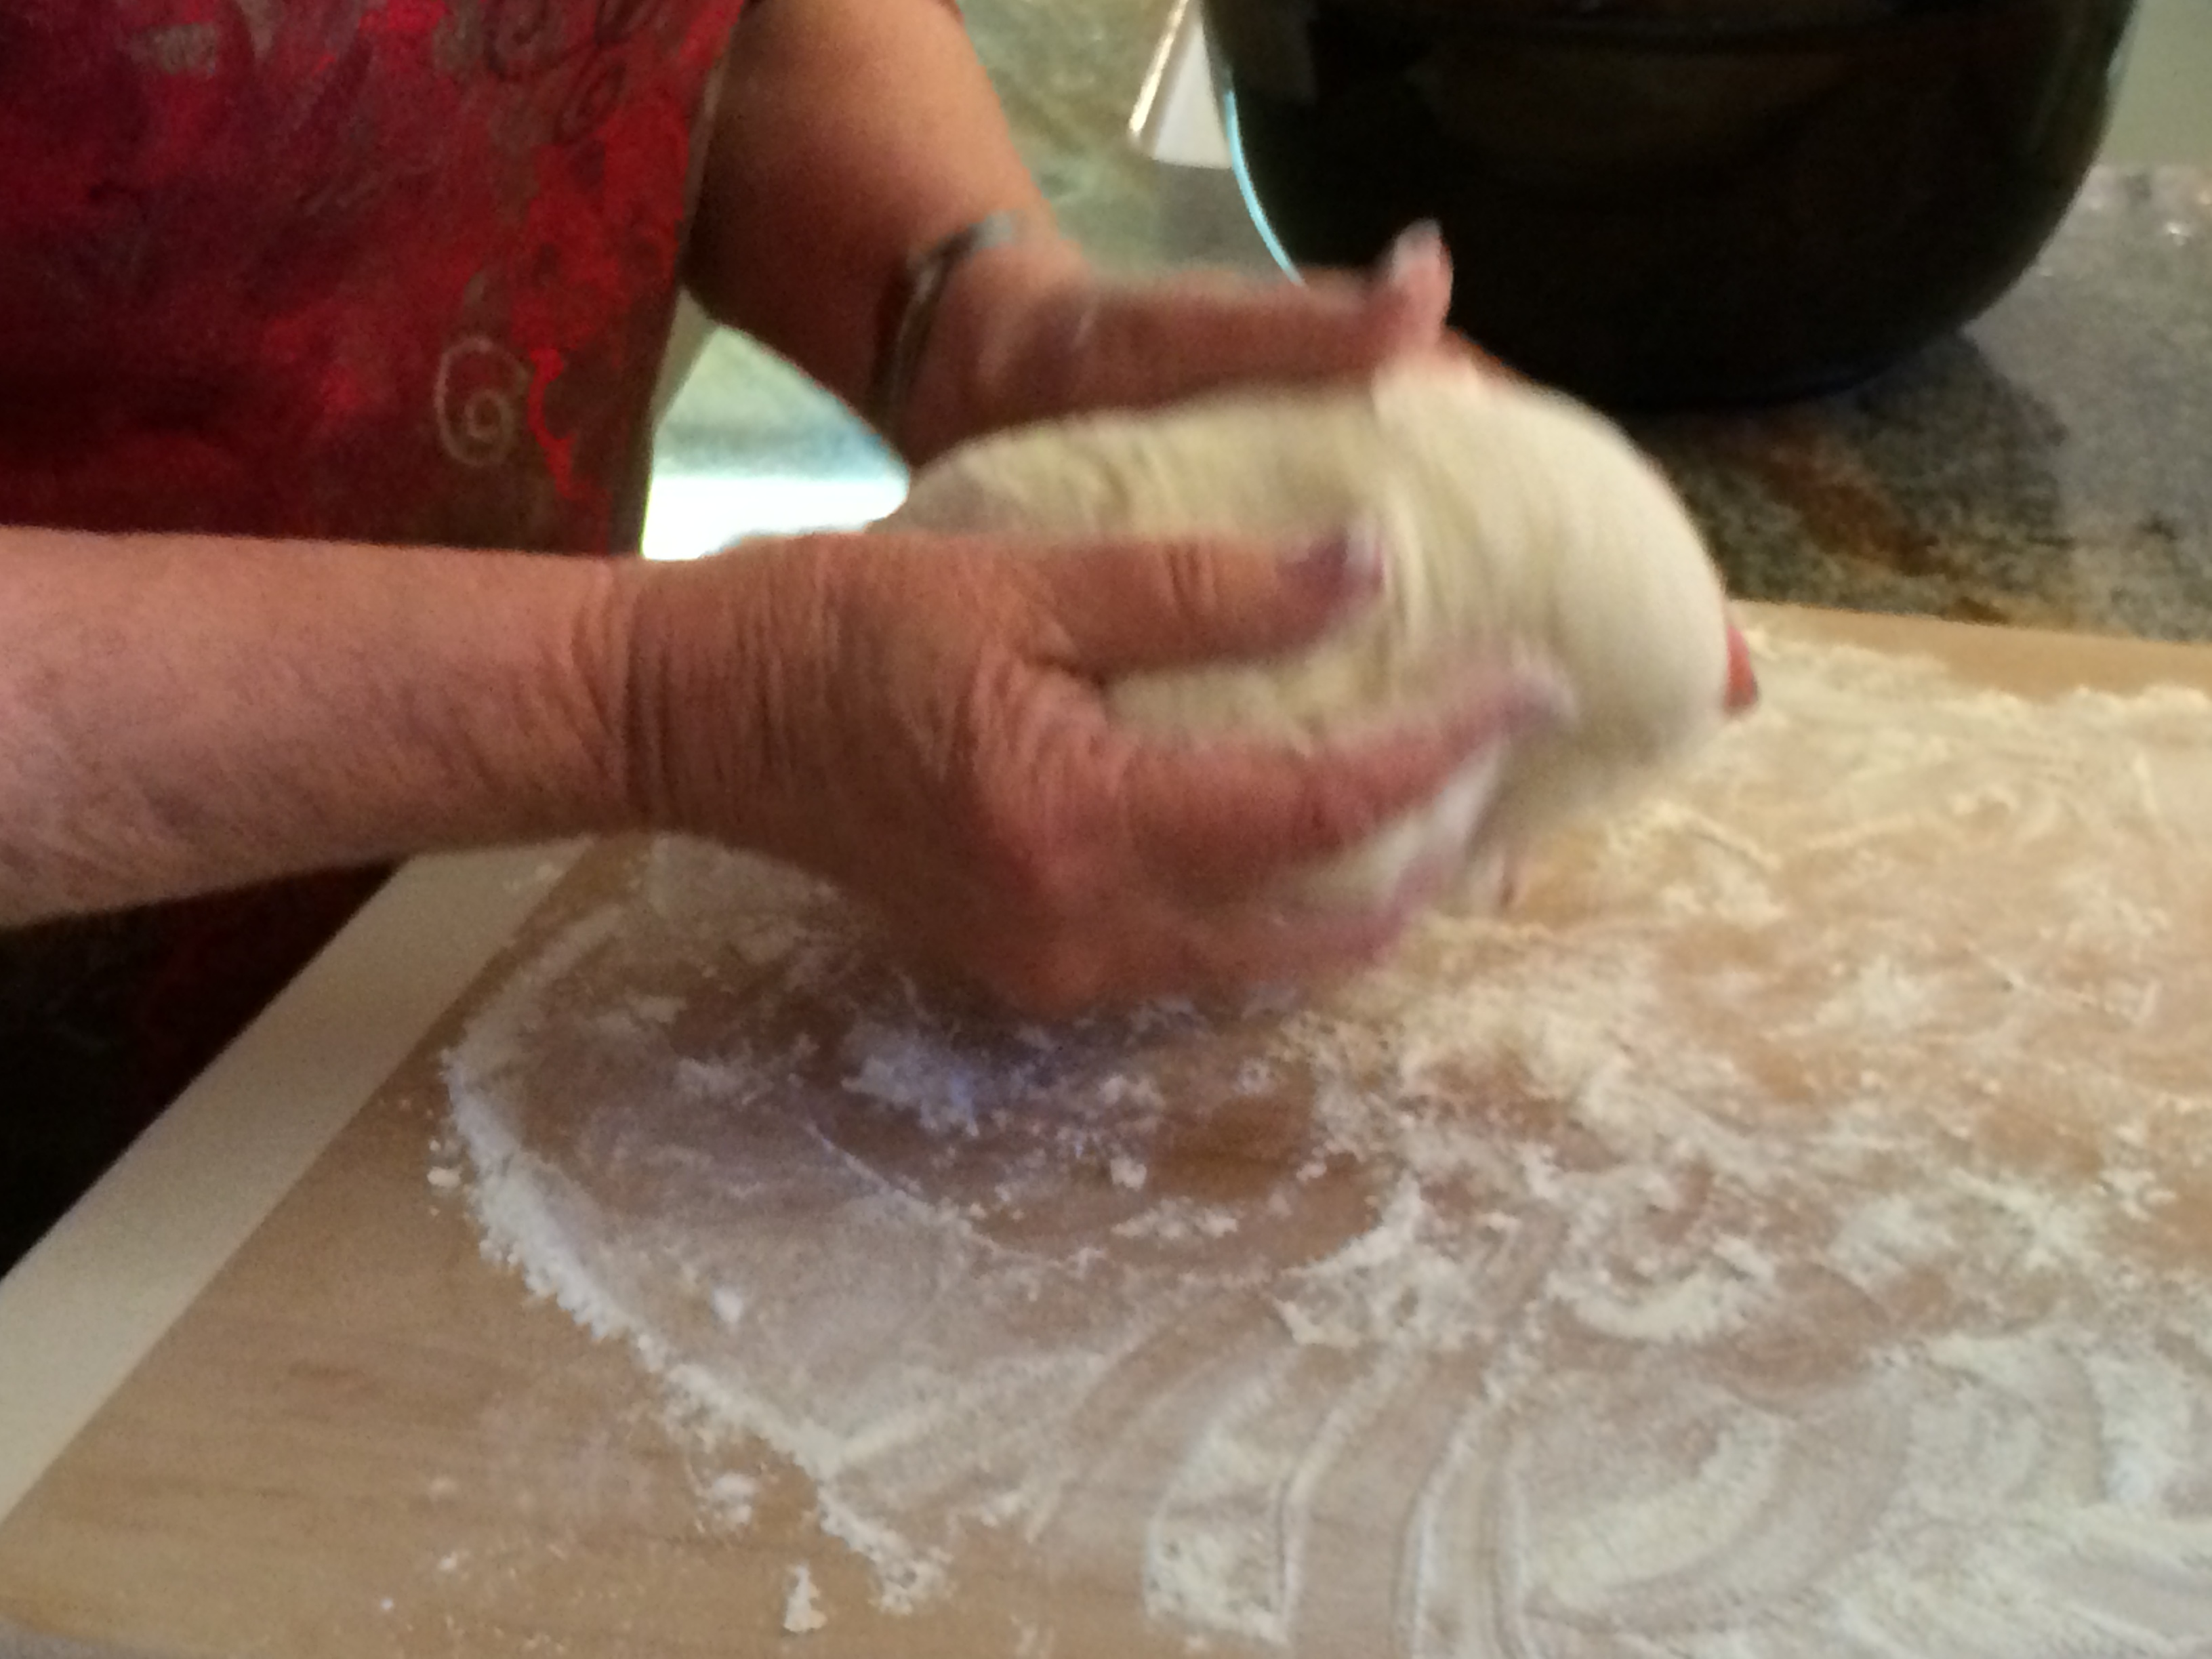
Shape dough into a ball by pulling edges to the middle.
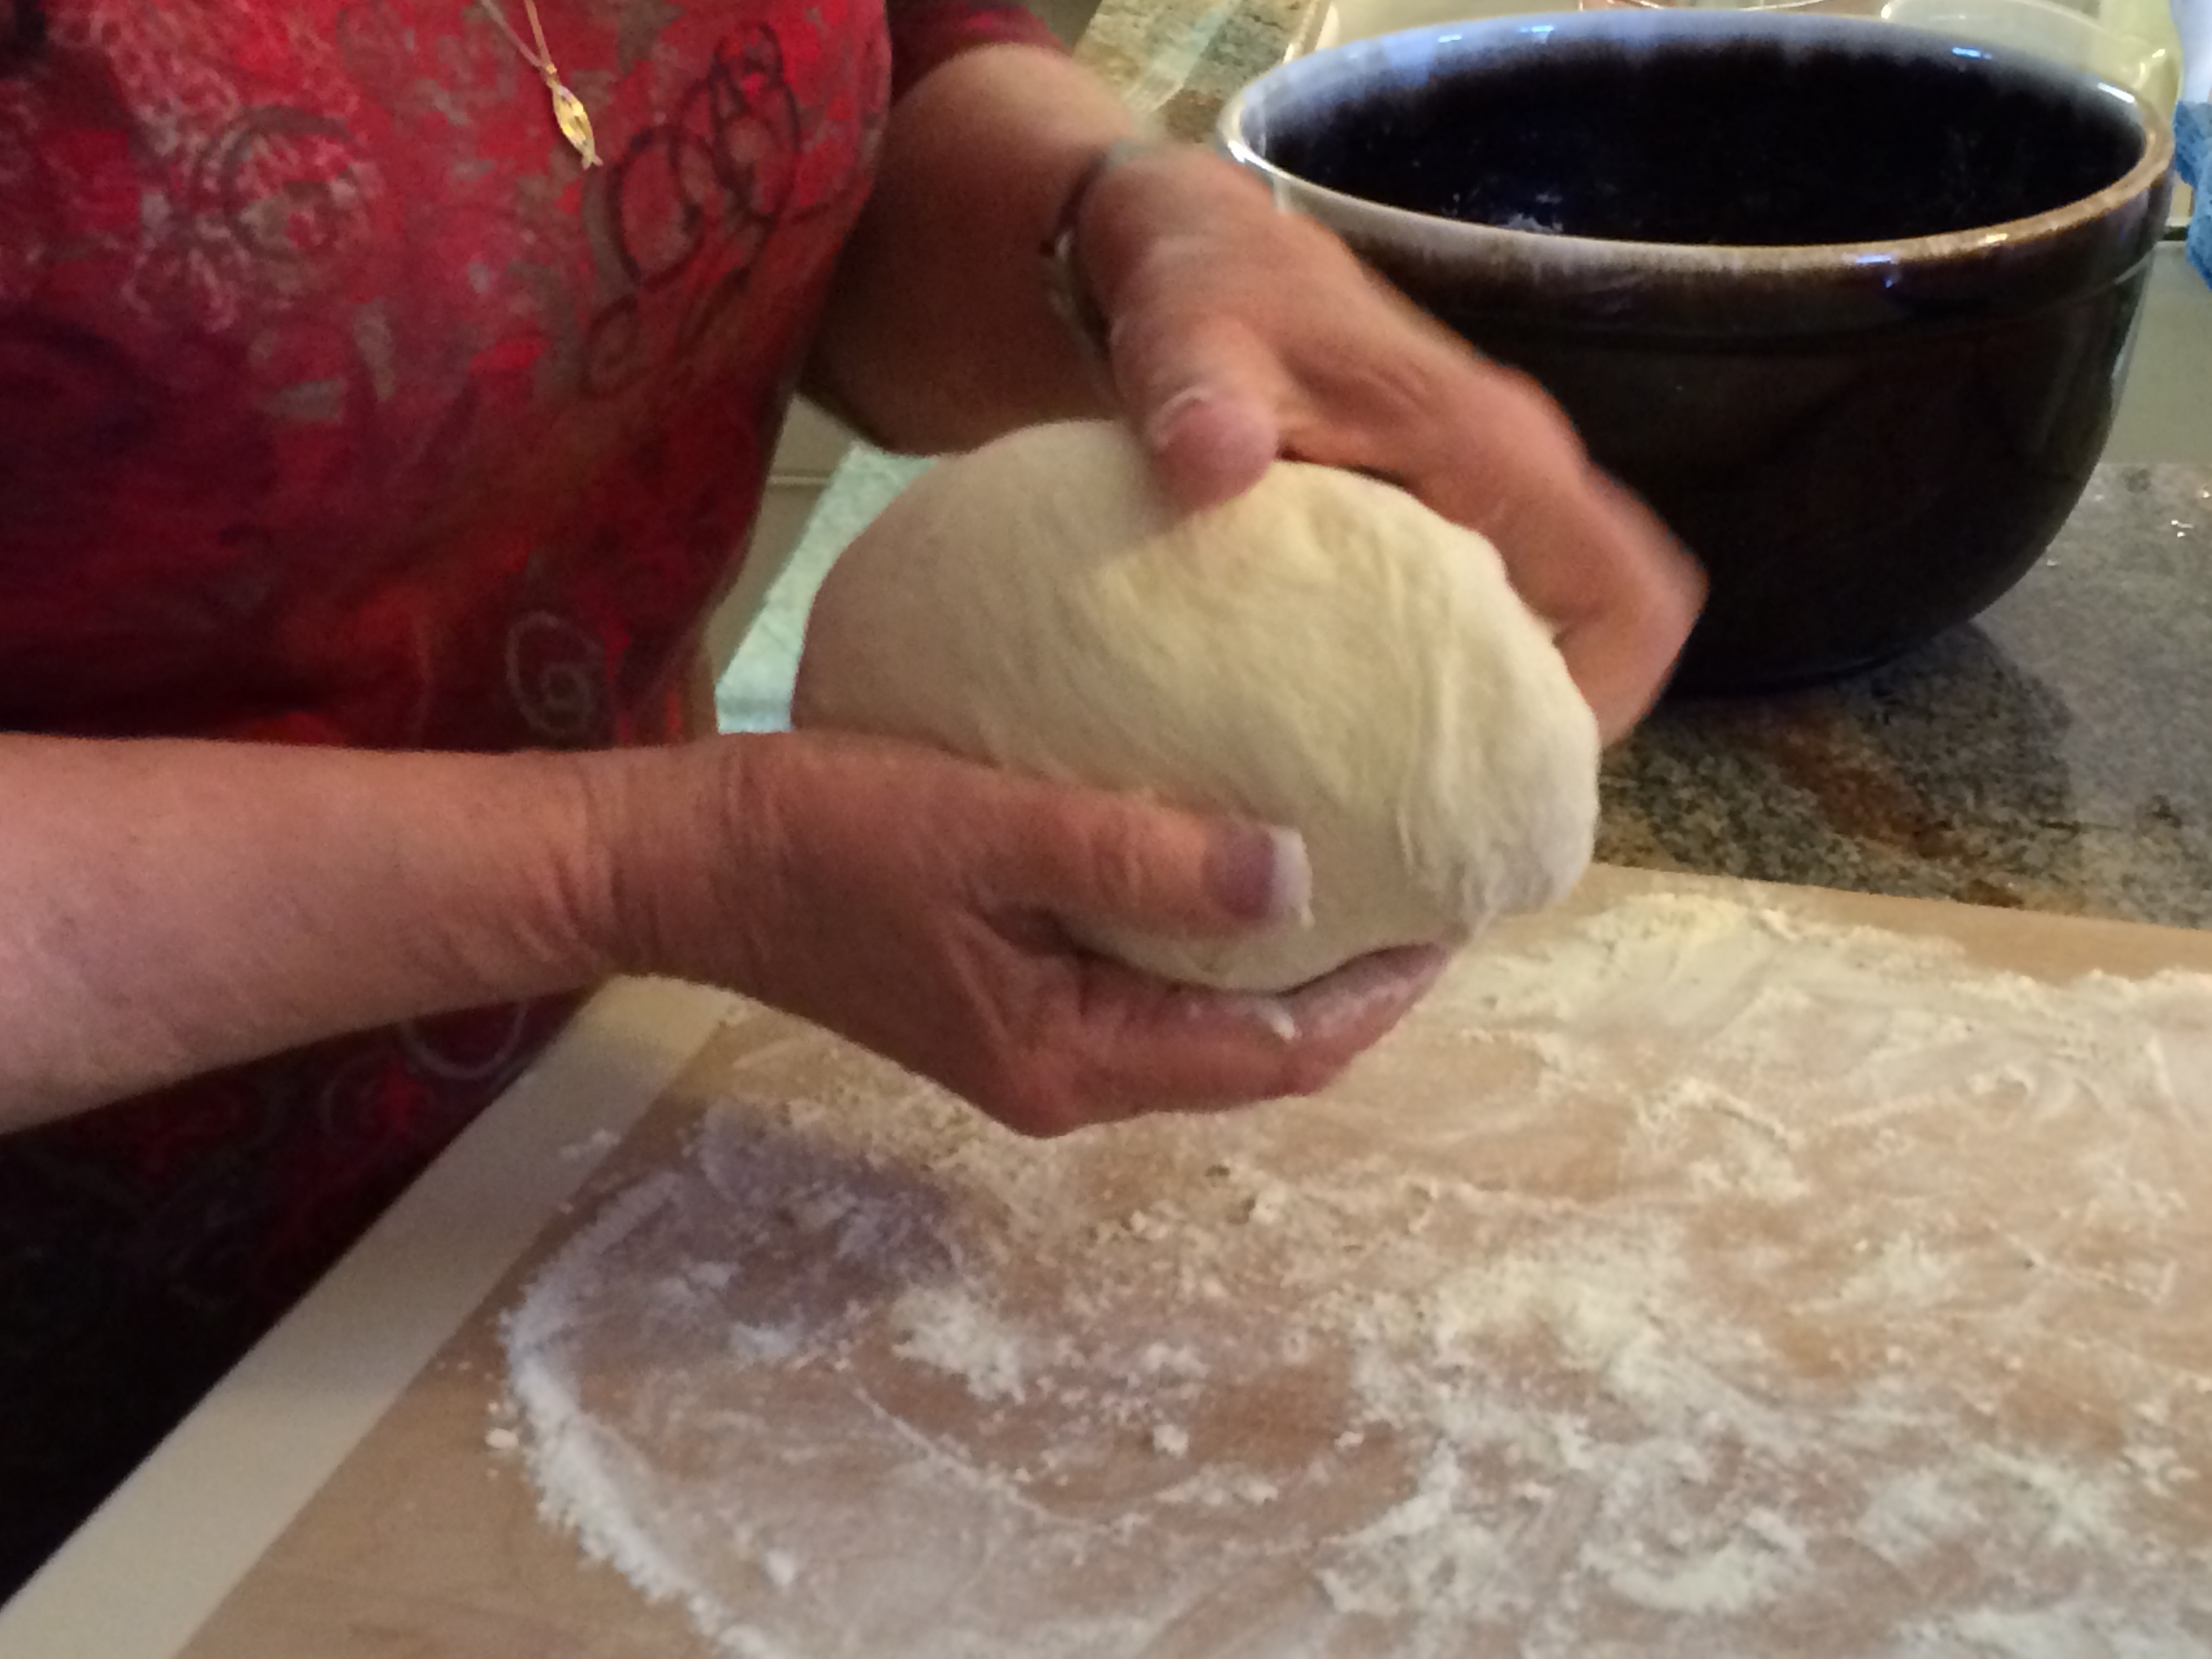
How beautiful is that?
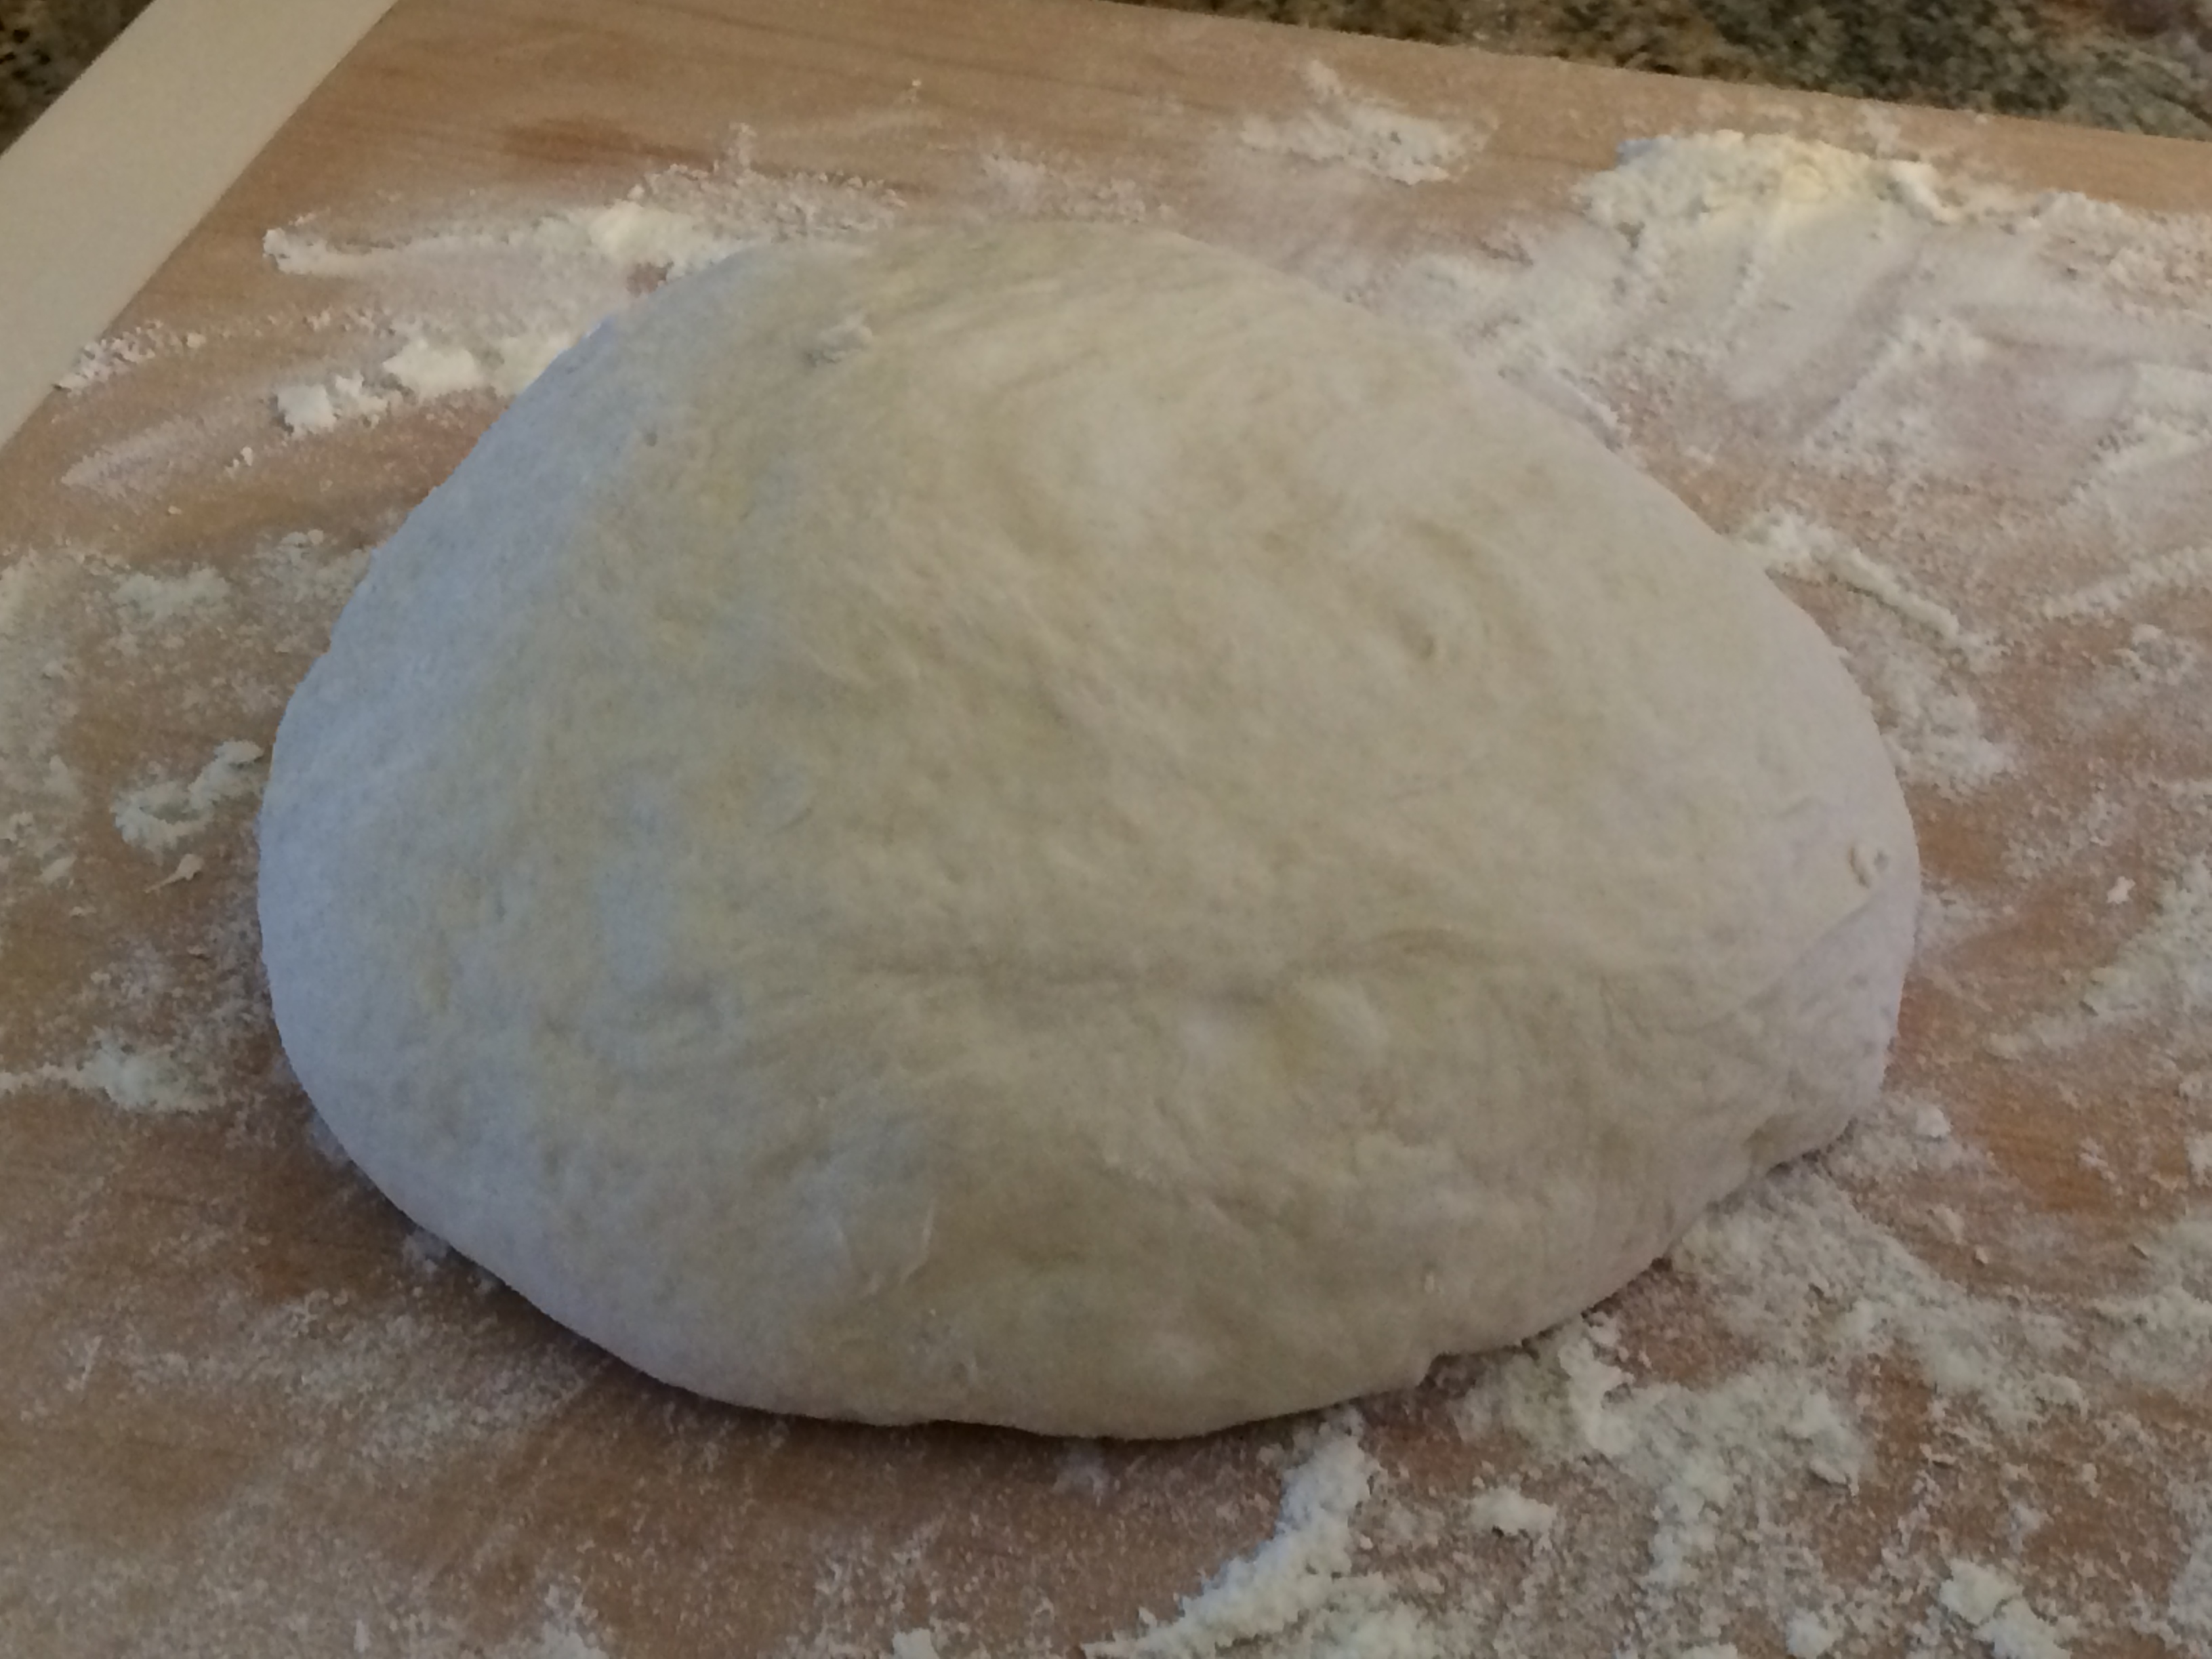
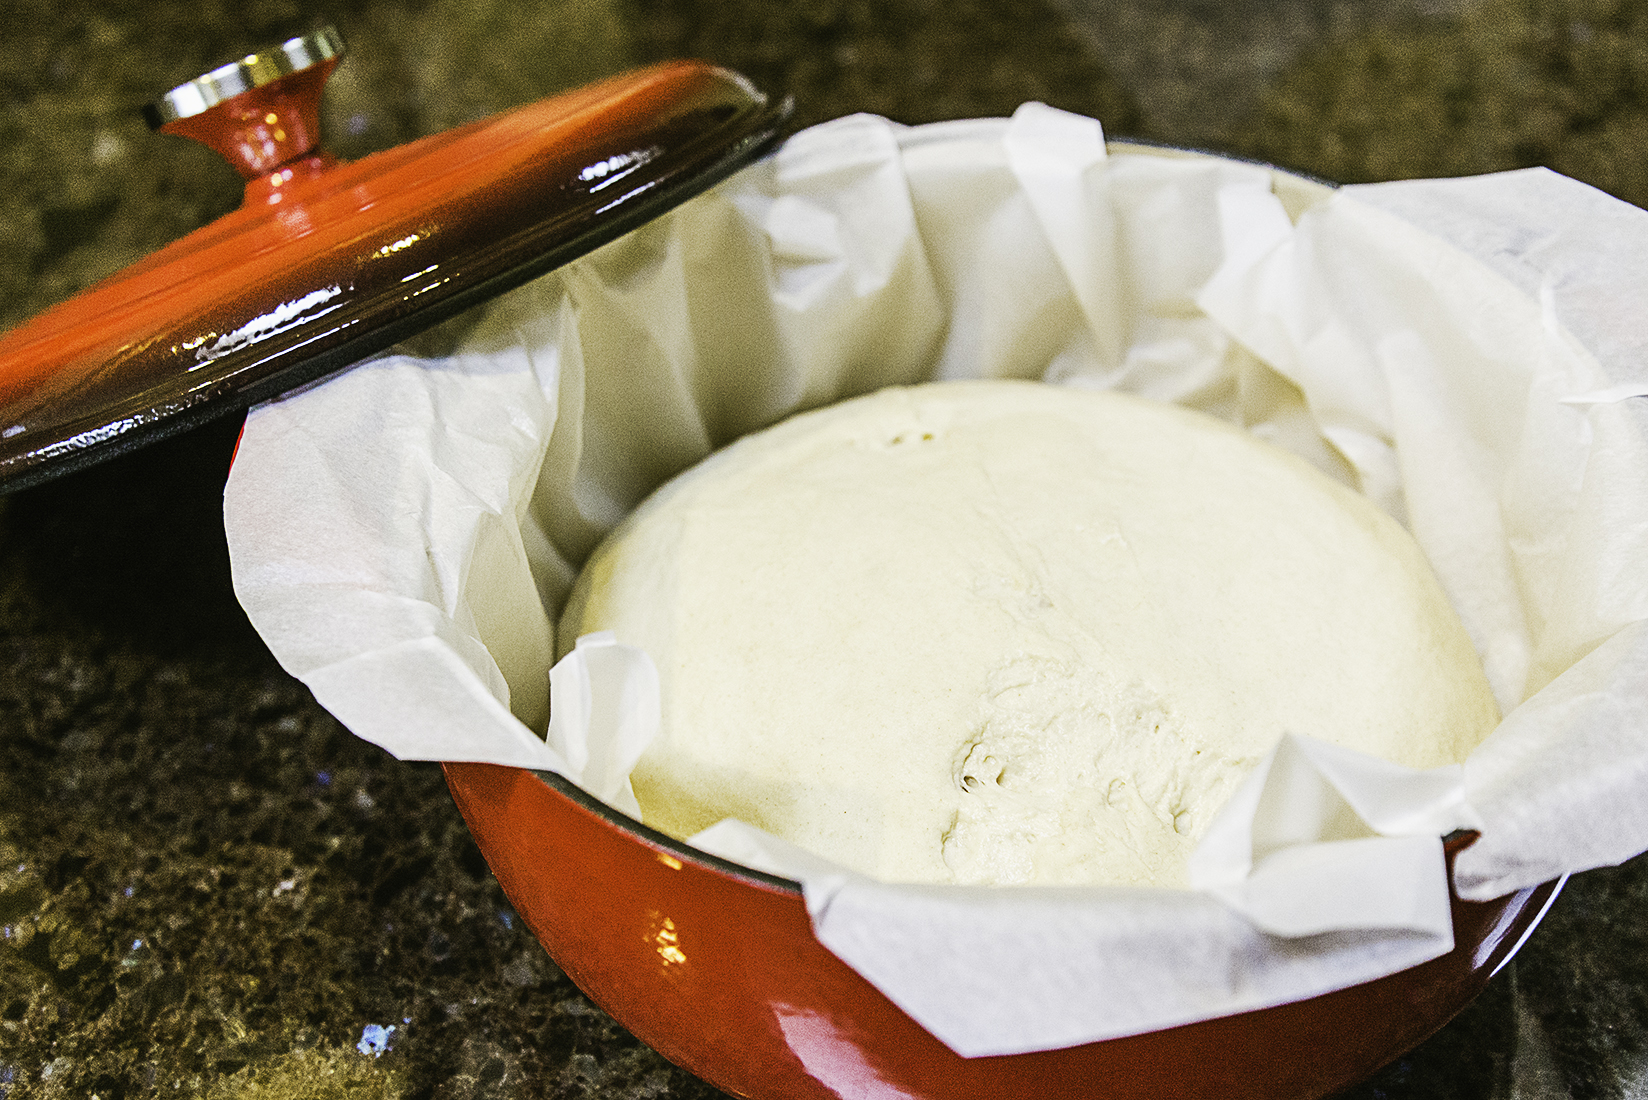
Then transfer dough, seam side down to parchment paper lined bowl.
It’s getting there…
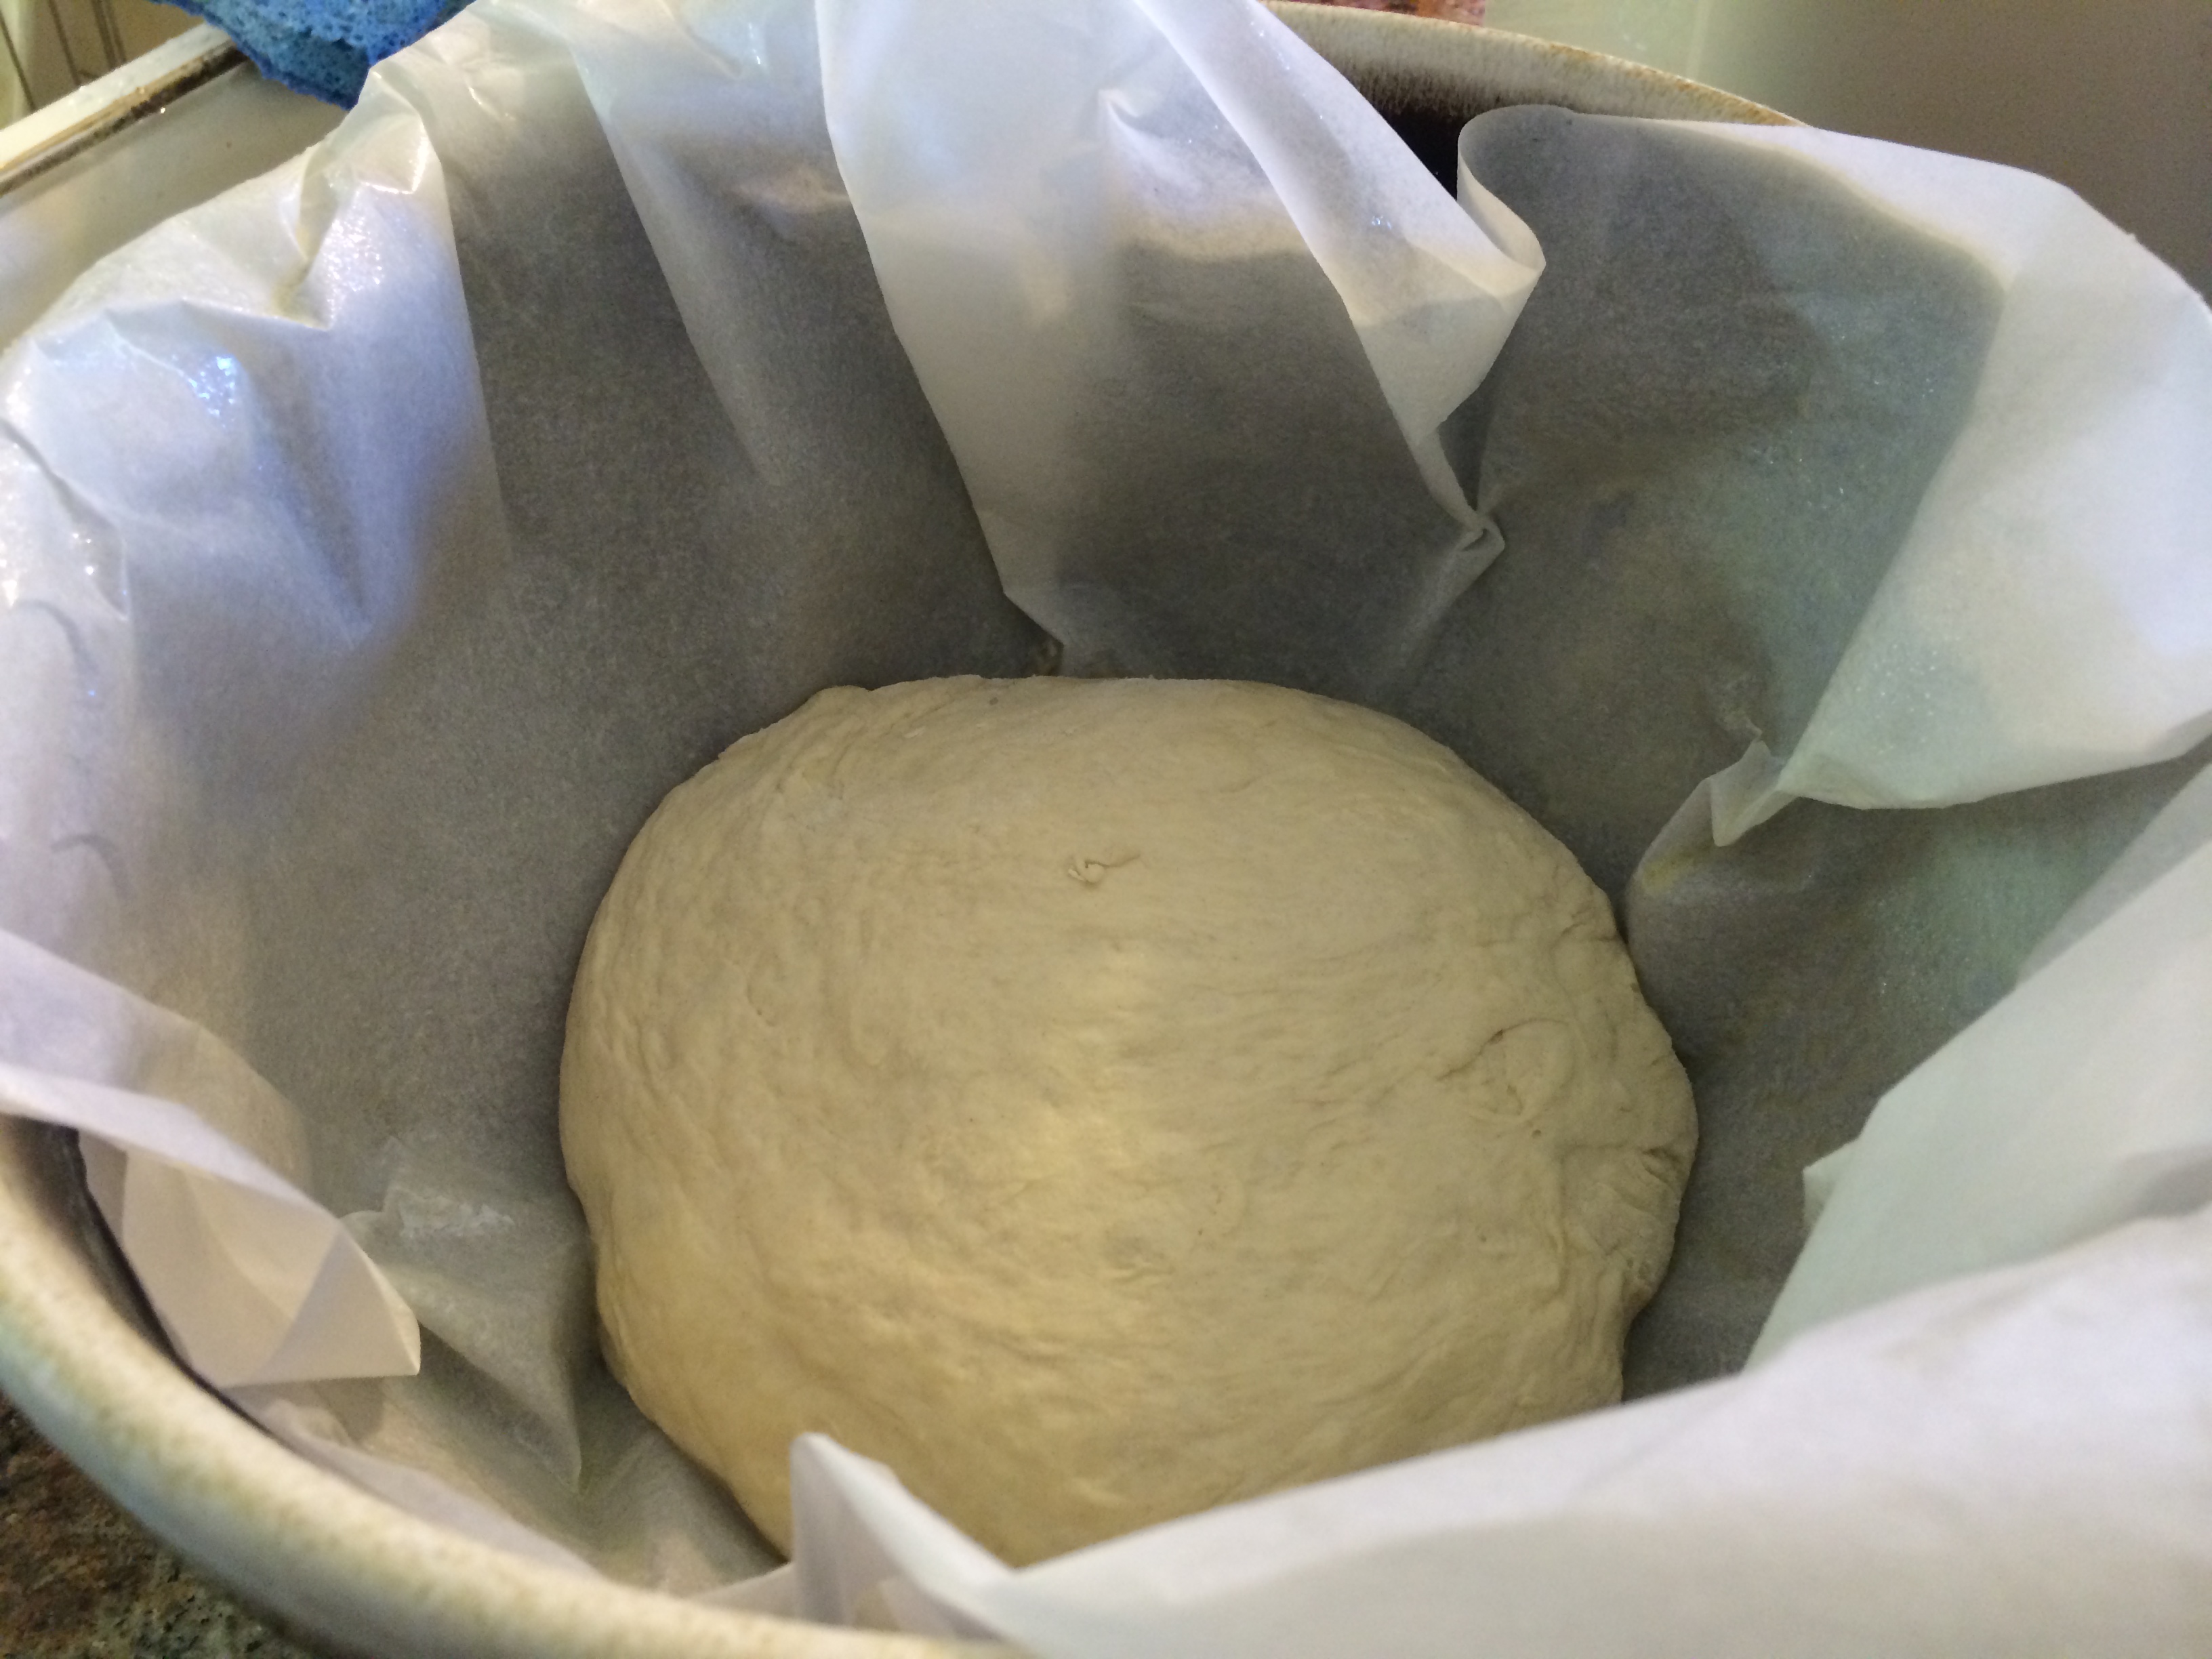
Then cover loosely with plastic wrap and let rise at room temperature until dough has doubled in size and does not readily spring back when poked with finger…approximately 2 hours.
For this process, Janene turned her oven on “bake” for just about 30 seconds to warm the oven. Then turned the oven “OFF”
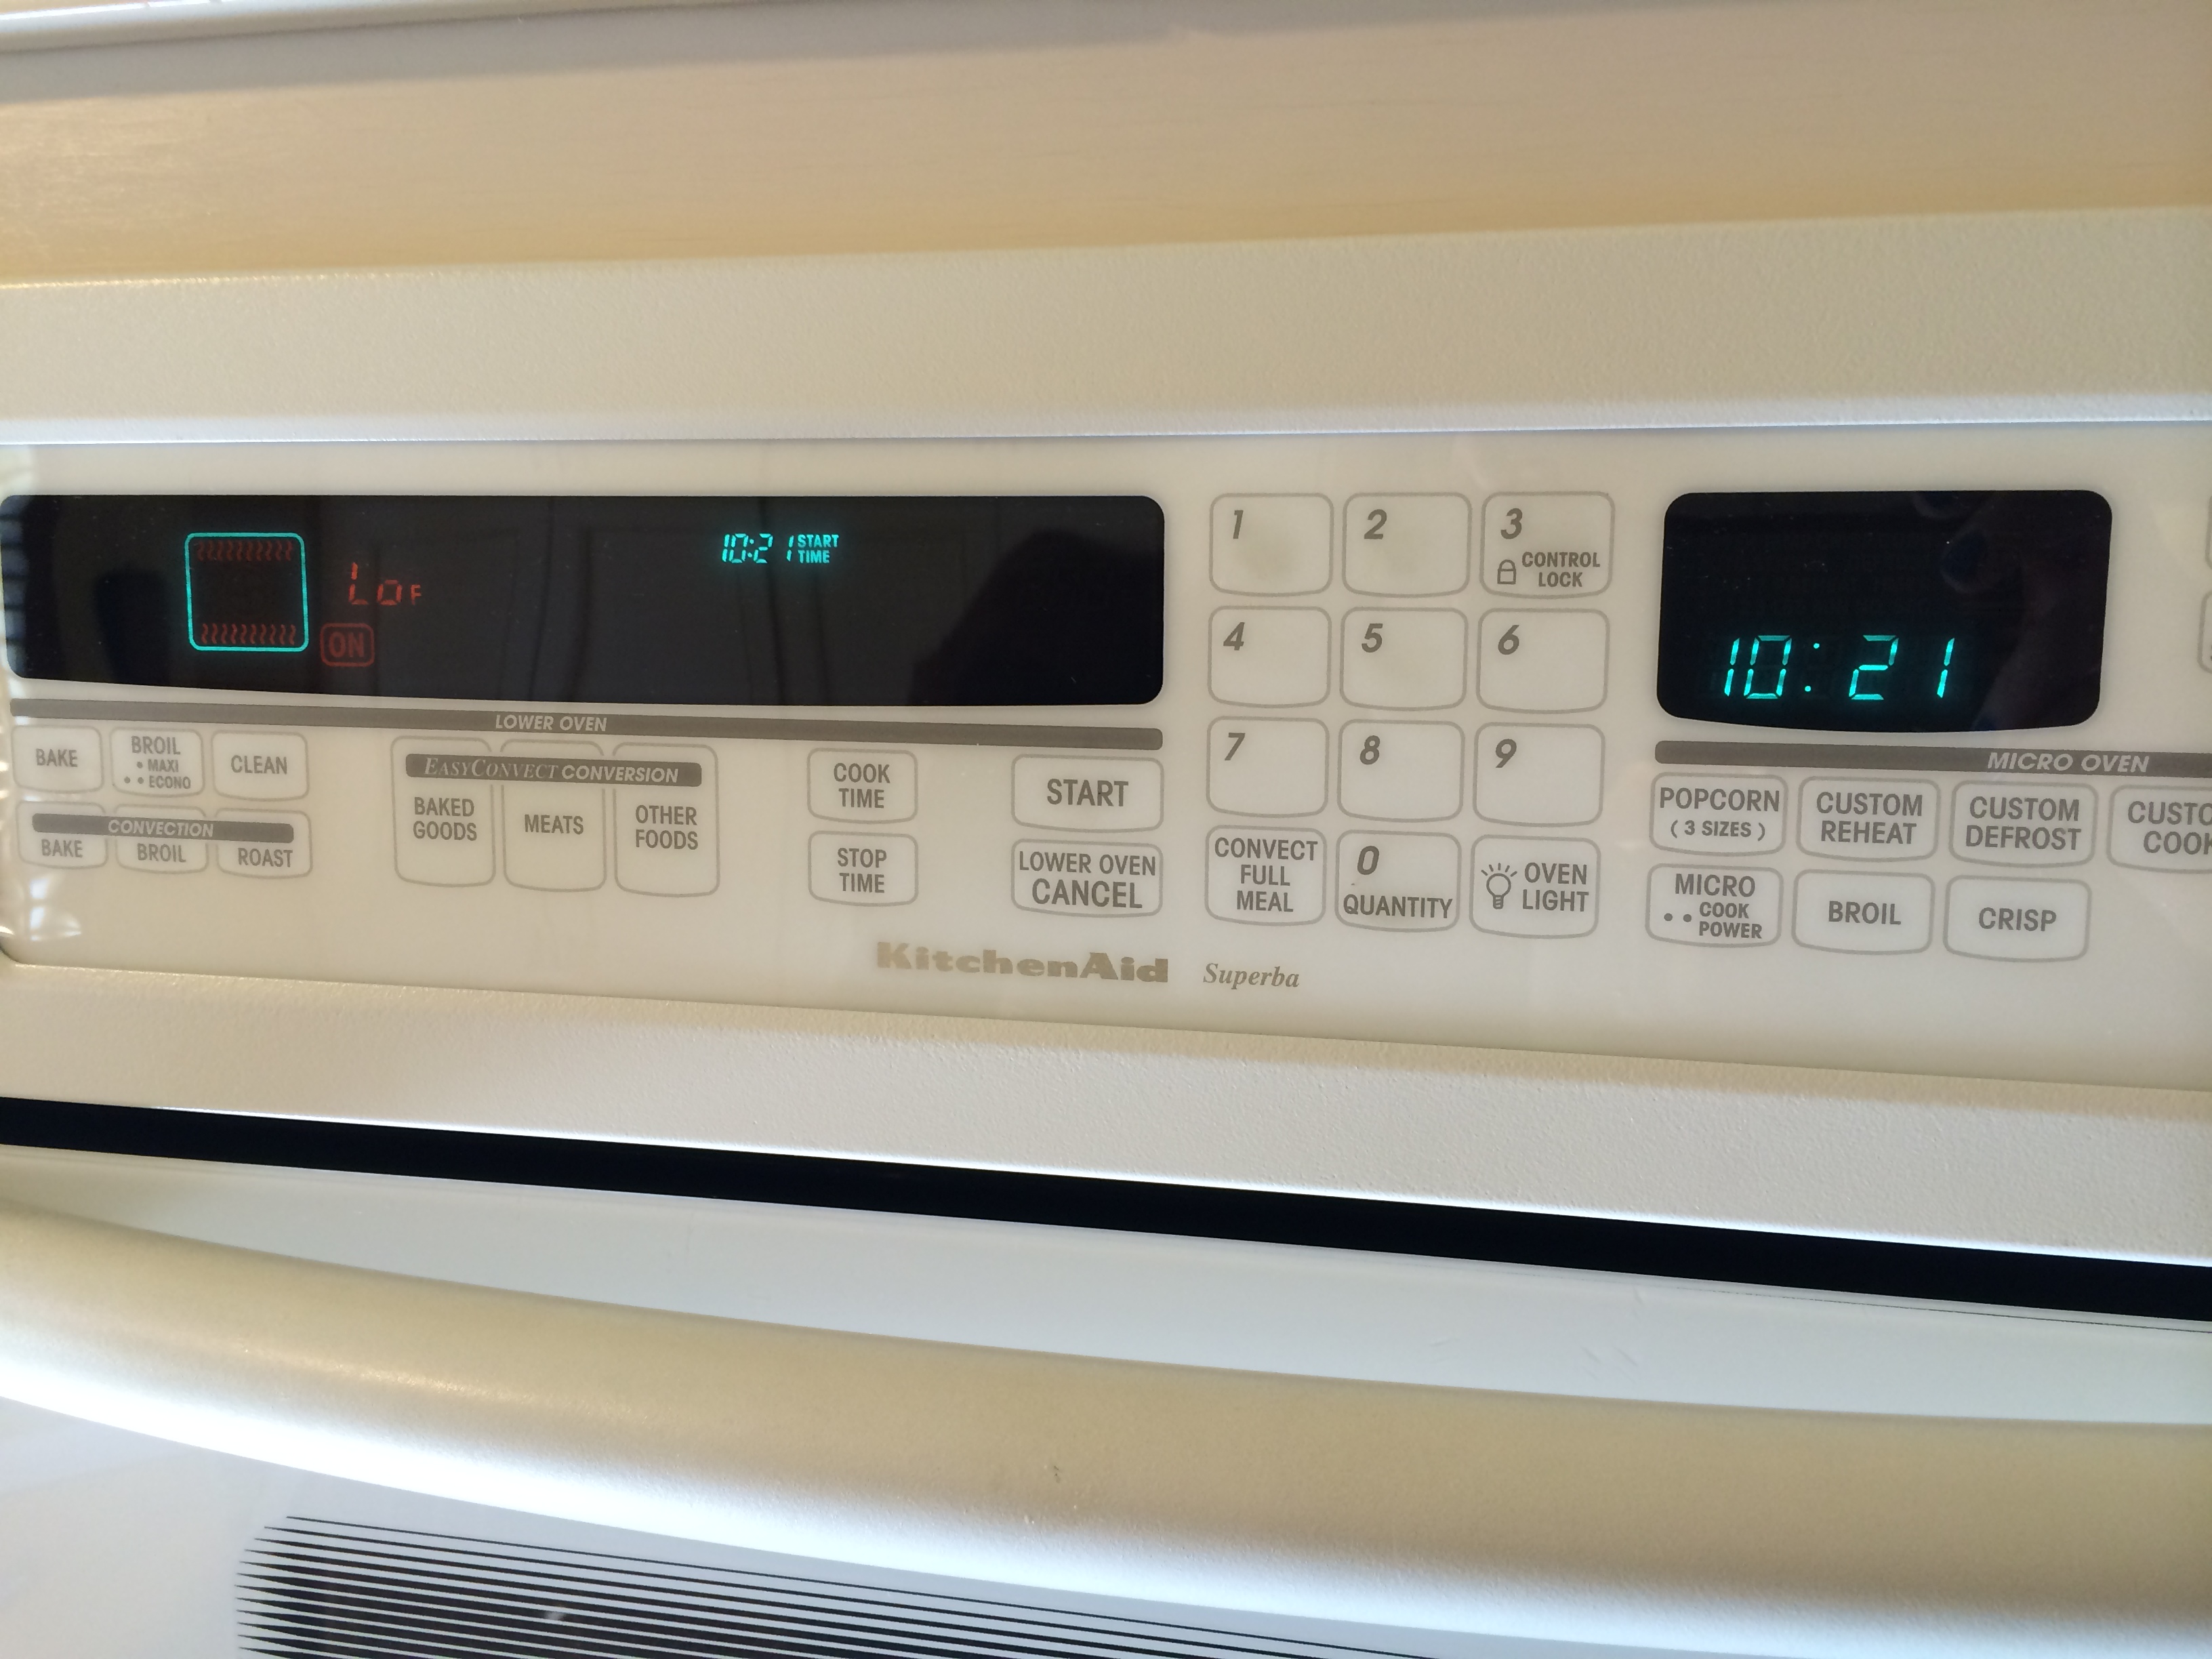
After the oven was turned off, she placed her bowl into the oven to sit and rise for the 2 hours.
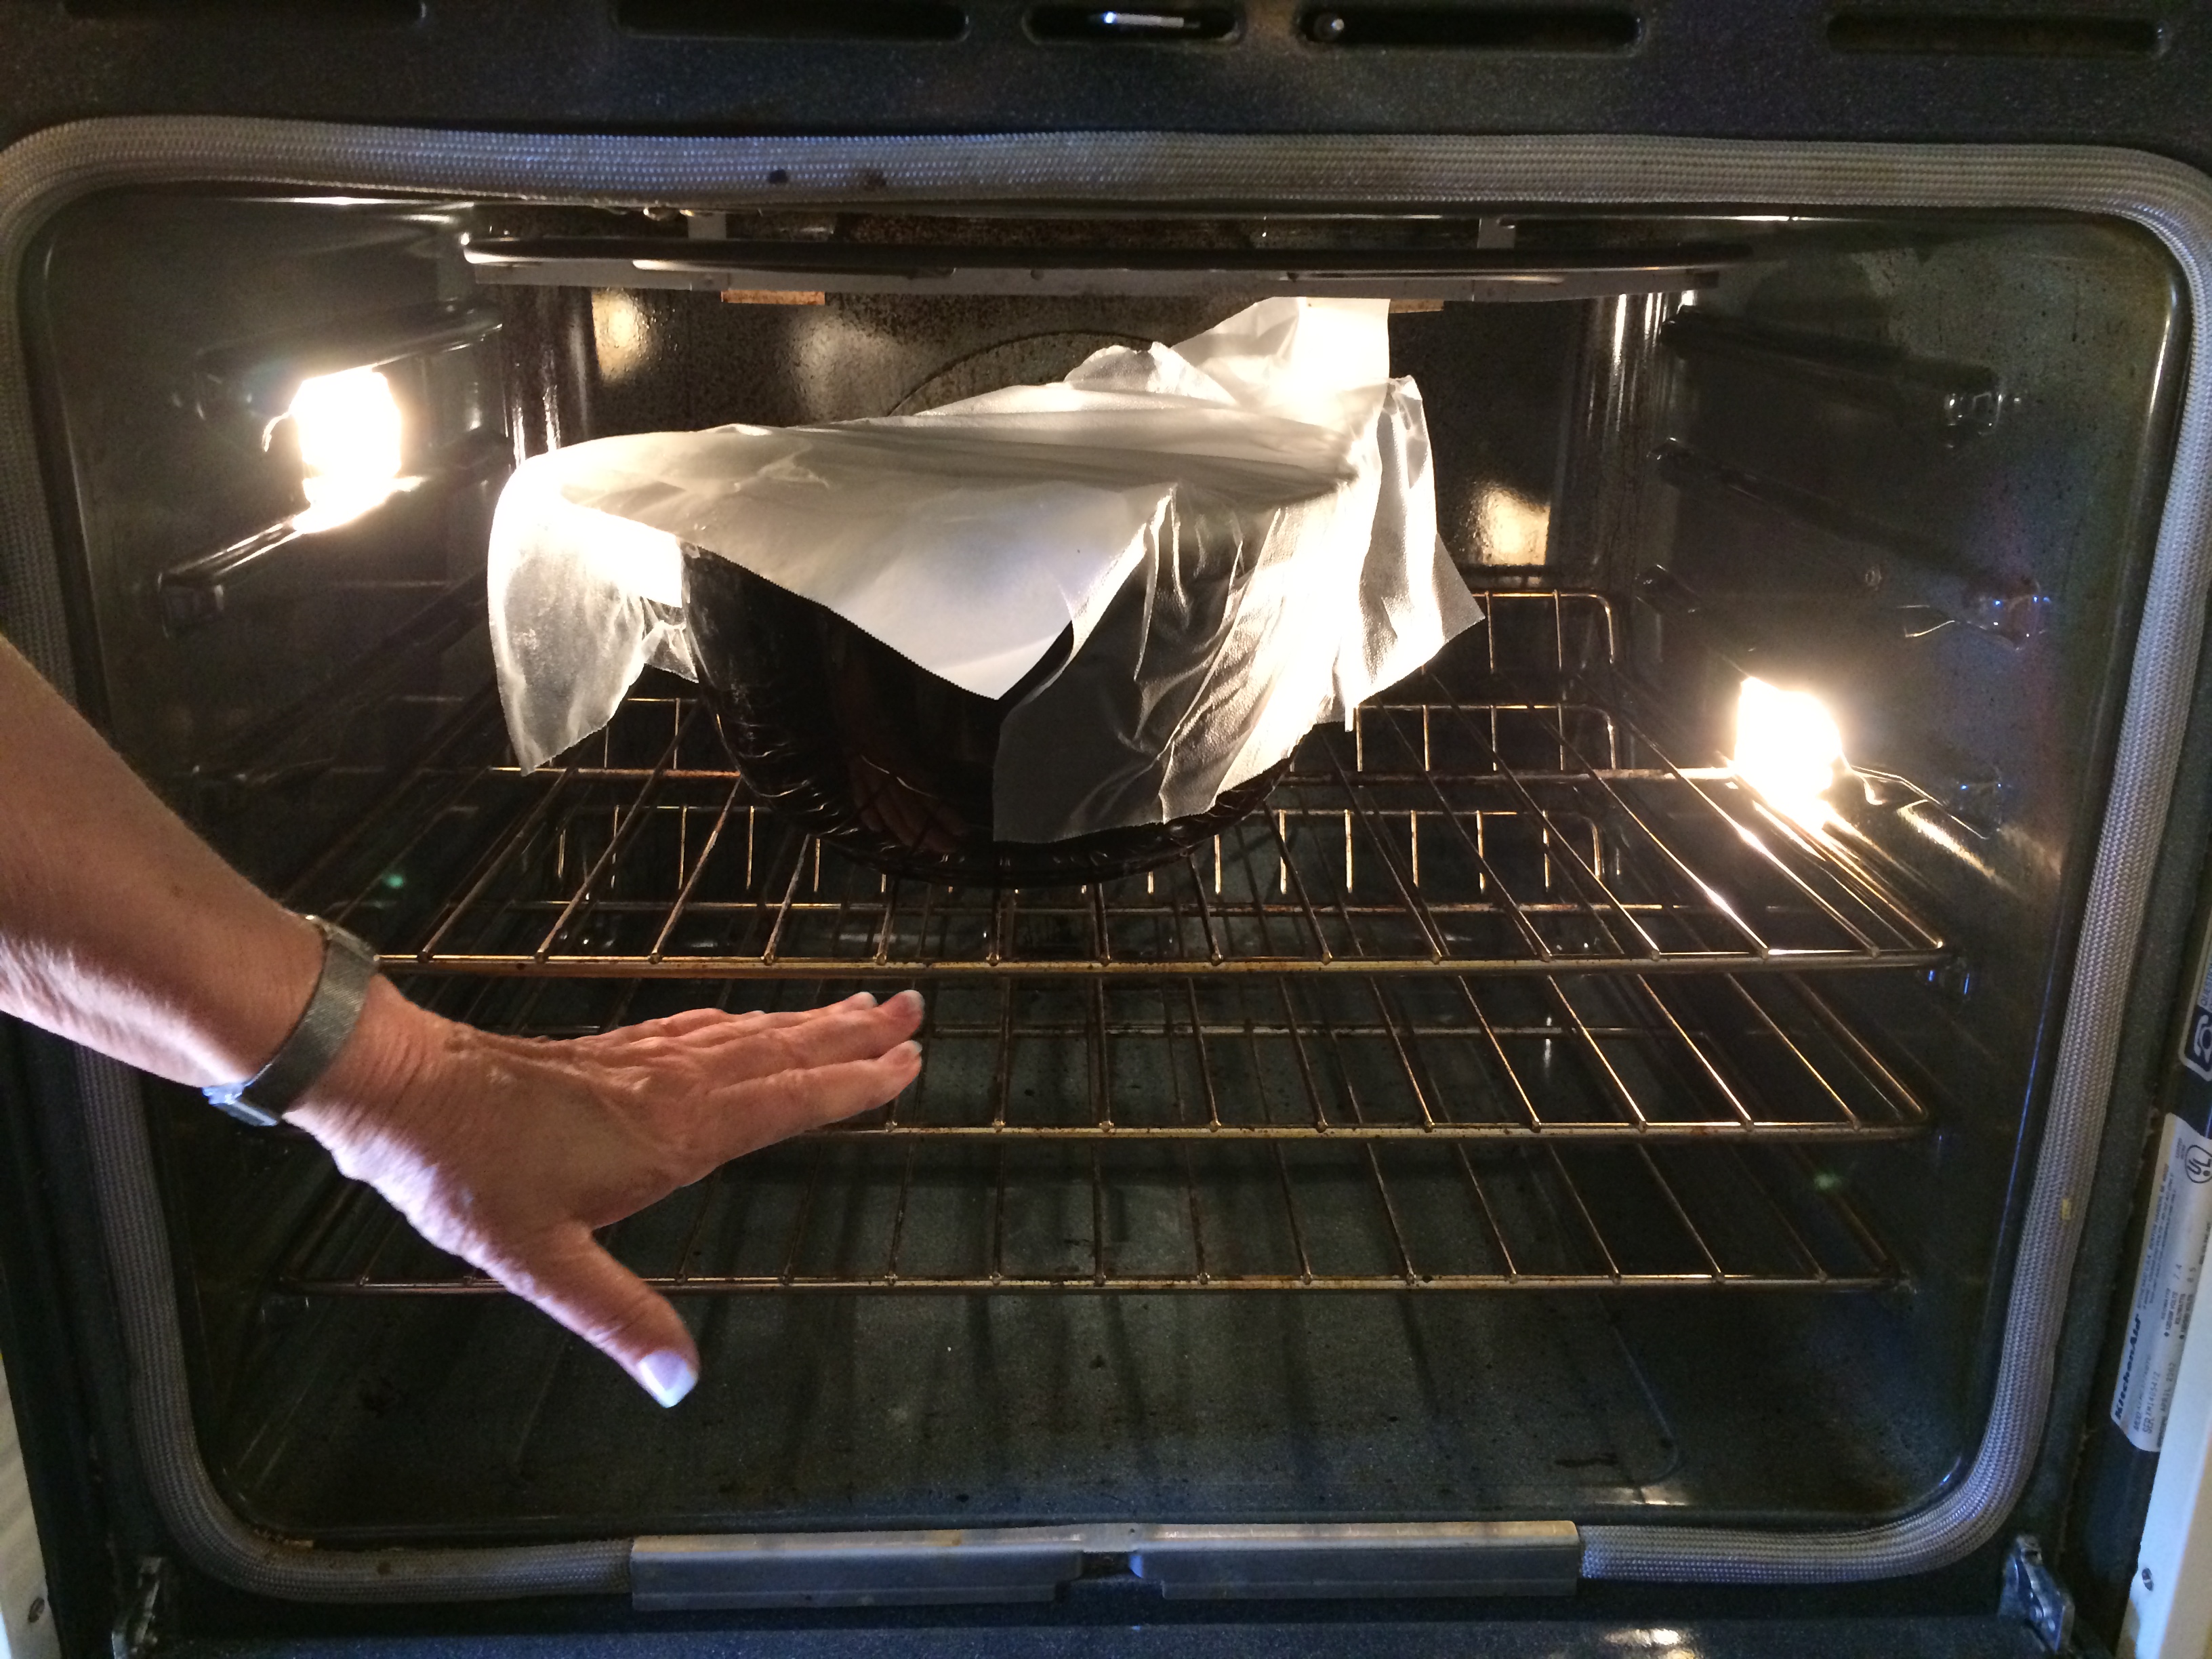
About 30 minutes before baking, adjust oven rack to the second from bottom shelf (the rack just below the pot in the upper photo) for baking the bread.
If you are using the two hour oven method to allow the bread to rise, be sure to take out the bread for the following step. Unless you have more than one oven.
Then heat the oven to 450°. Put dutch oven (or heavy pot) covered with a lid in the oven and keep the empty, covered pot in the oven for 30 min to preheat the pot.
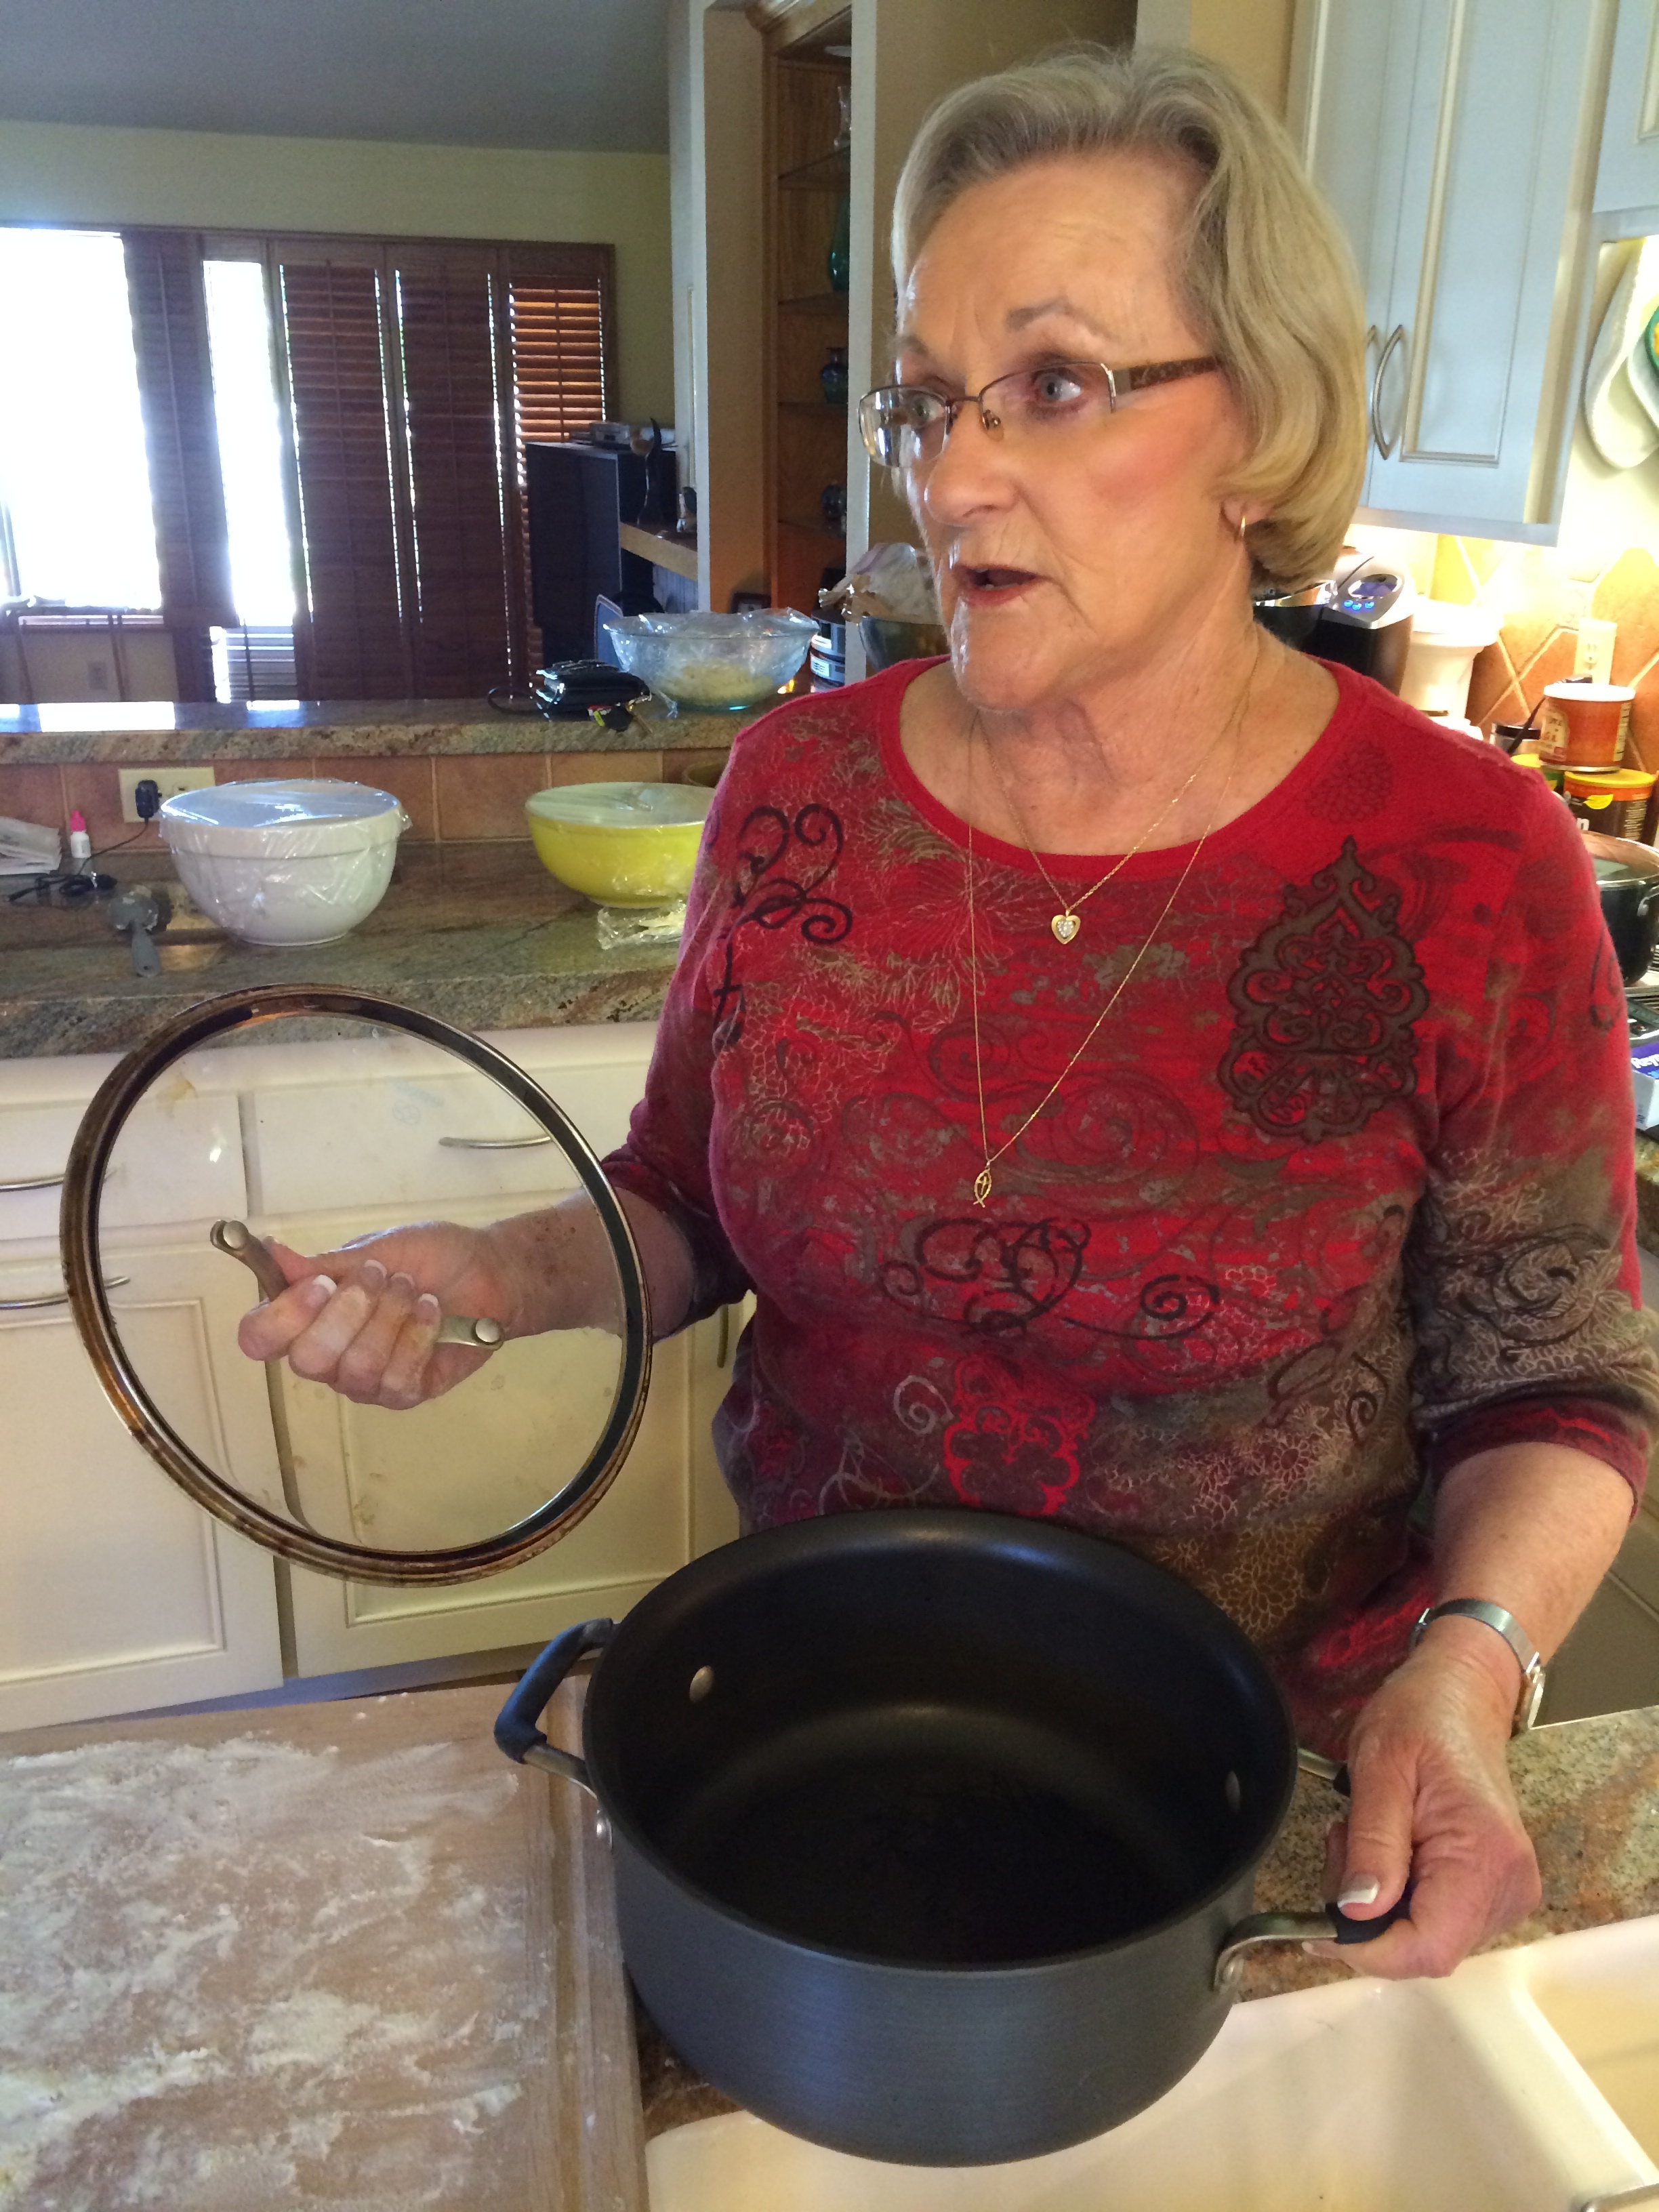
Her go-to bread making pot and lid.
Carefully remove pot from oven and remove lid. Pick up dough by lifting parchment overhang and lower into pot letting excess parchment hang over pot edge.
Cover and place in oven and bake for 25 min.
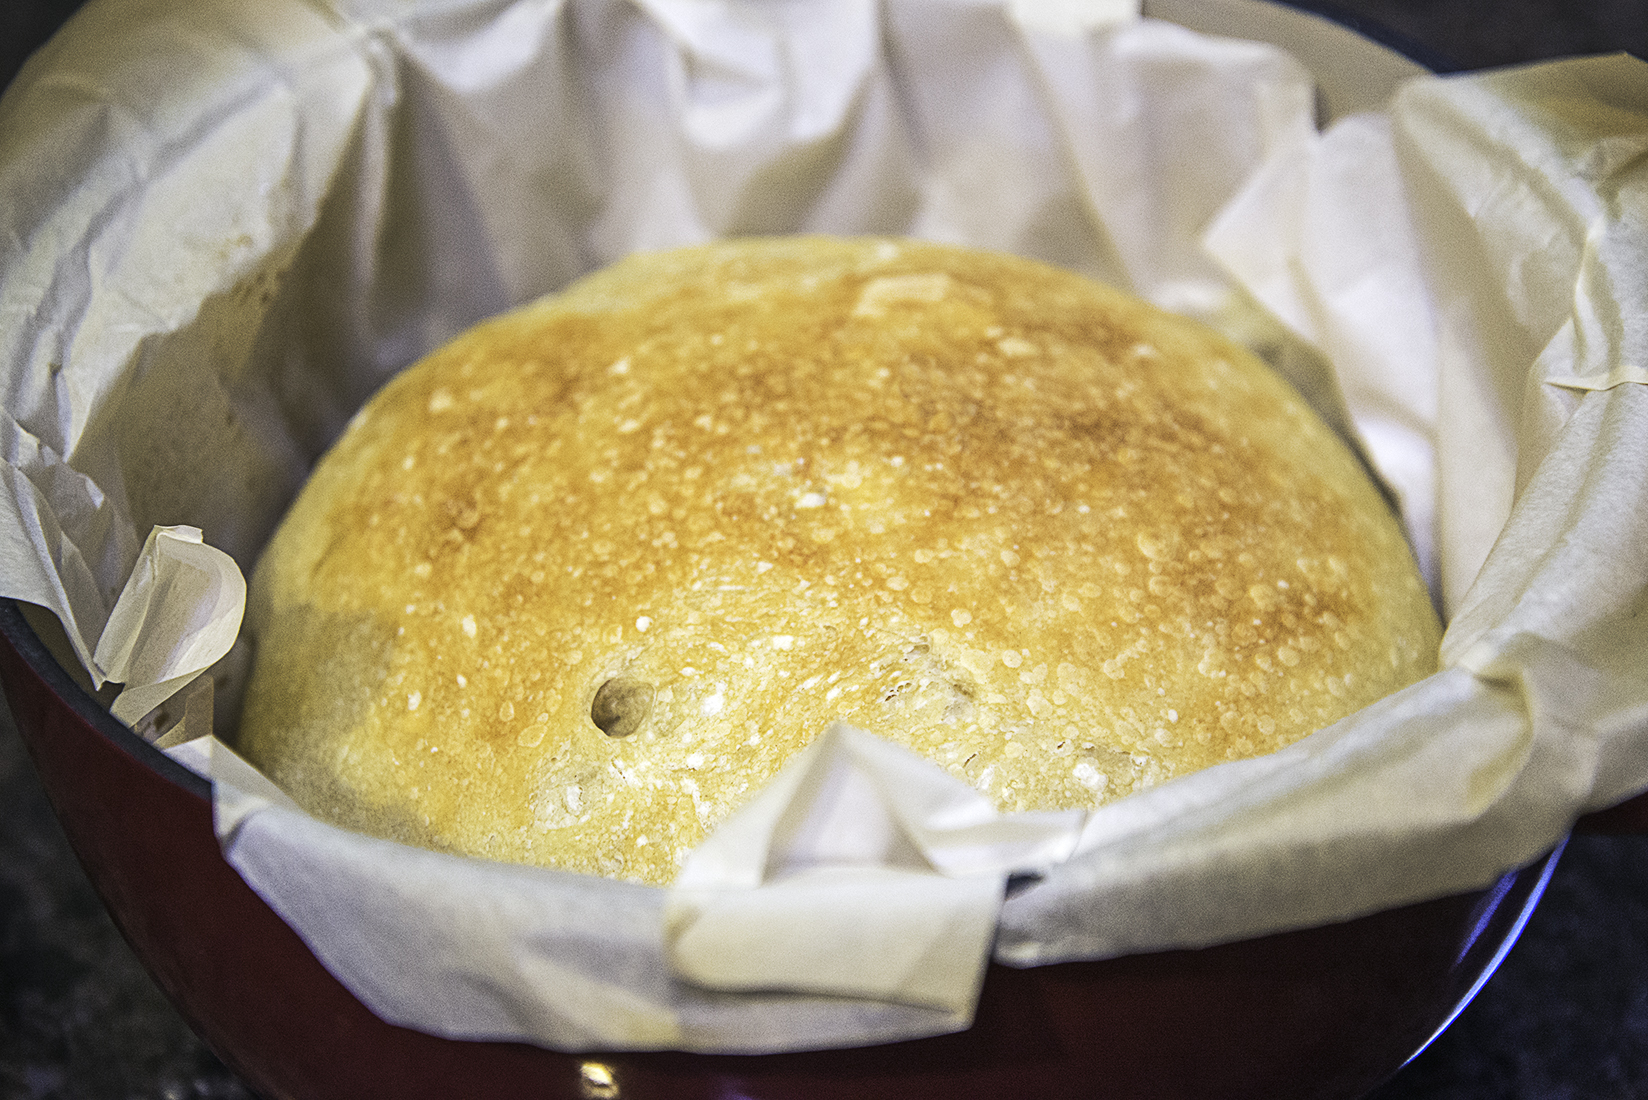
Remove lid and continue to bake 5 min to brown the top of bread.
Carefully remove bread from pot and transfer to wire rack to cool.
And if you are anything like me, it will not cool for long as I will be ready for warm bread and butter…Ahhh…
*Note – Janene did say that after the original 8 – 18 hours sitting at room temperature, the bread can go into the refrigerator for a day or so before baking. Once you are ready to bake, simply remove from the refrigerator and go to the next 2 hour step.
If you are making this, I hope yours turns out as yummy as the bread Janene makes.
You know what really upsets me? I mean really, I had my camera all ready to go to the class and left it sit right there on the counter. And all images, except the first image of me were taken with the cell phone. Makes me sad, but I’m still happy I took the pictures. Goodness knows I work better with the step by step process.
Edited after I made mine as I made a few changes. Here’s what I did…
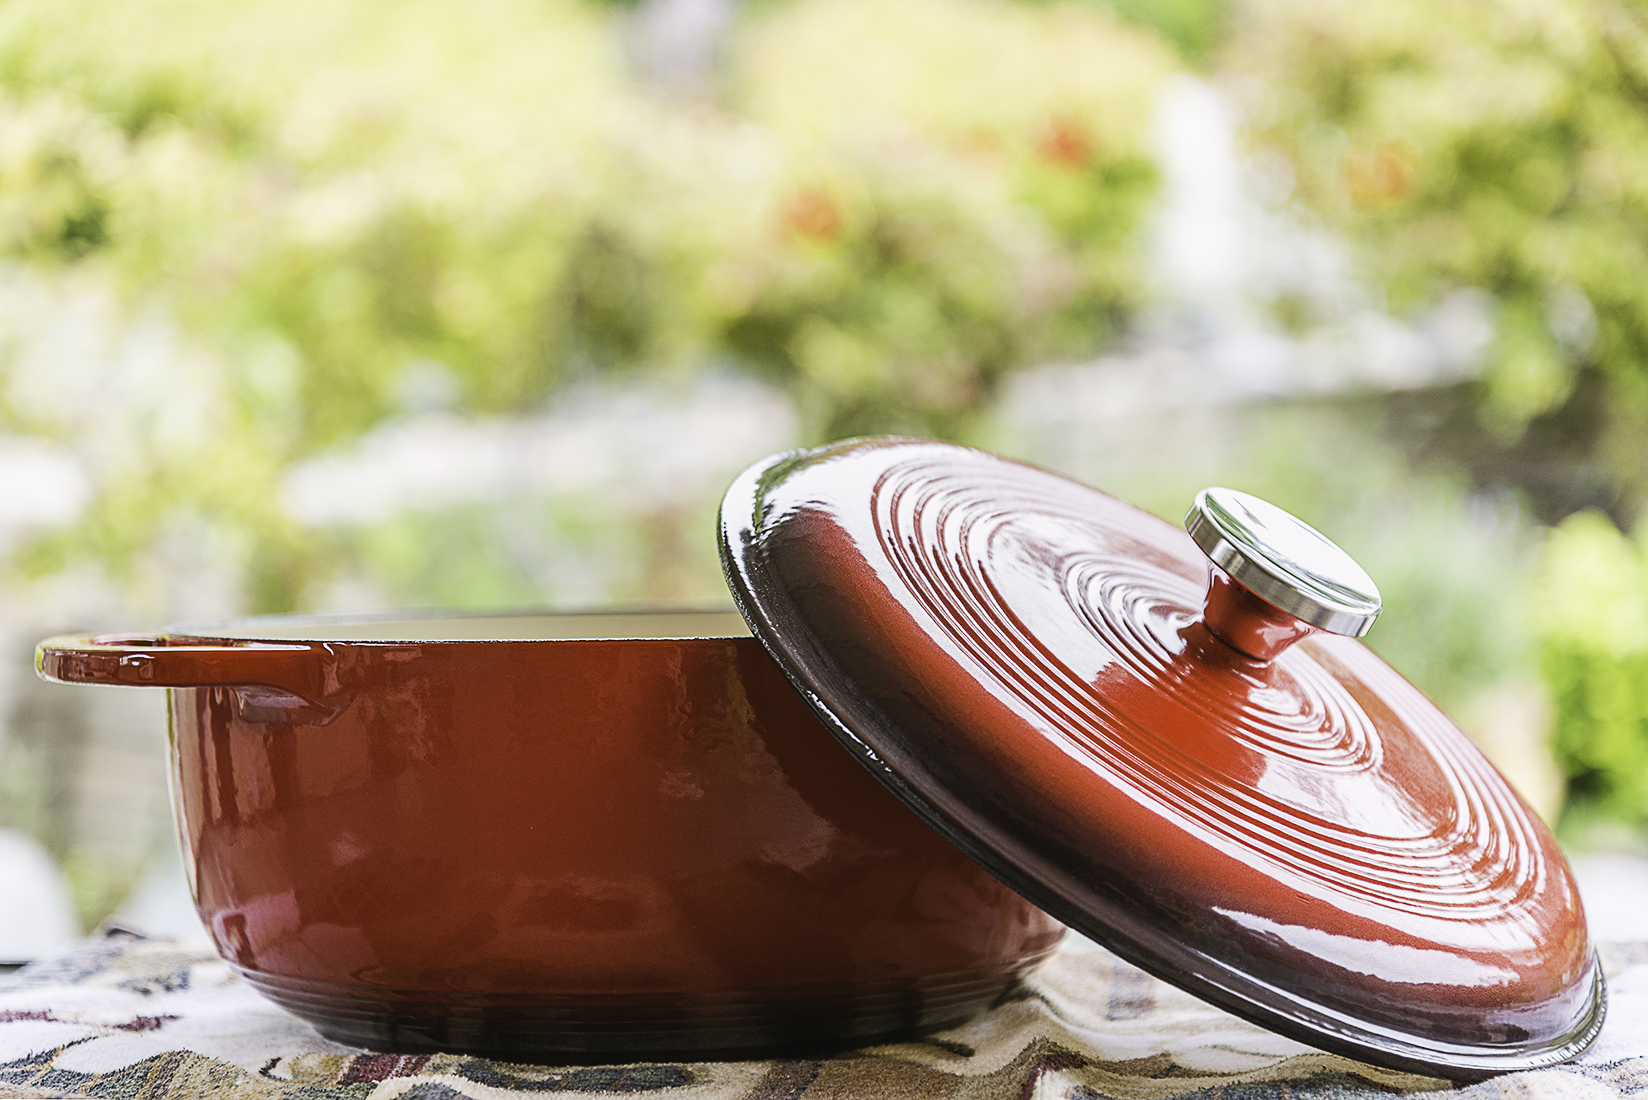
Purchased a new Dutch Oven – I didn’t have one.
- Let my mixed dough mixture sit for 12 hours and put in the refrigerator over night.
- Took the dough out of the refrigerator at 1PM (Did not jump into the next 2 hour step from there) and let sit without disturbing for two hours.
- Then went to the kneading step and let sit in oven (heated for 30 seconds then turned OFF) 2.5 hours.
- Did not preheat my dutch oven as the manual for my new pot clearly states “Do not heat empty Dutch oven. So I didn’t.
- Then placed pot with dough in oven and baked for 27 min (covered) I thought it needed a little more time (the recipe calls for 25 min covered) to bake as my pot was not preheated.
 Then took the lid off to brown for an additional 7 minutes.
After all that, I came to the conclusion that this recipe is no-fail! You really can’t mess this up.
I love how crispy it was on the outside and I especially love the CHEW of this bread. So good!
Blessings – Debbie
Debbie, I think you got it all beautifully. This is such a good reminder for those of us lucky enough to go to Janene’s class, and will really be helpful to those who didn’t!!
Can’t wait to sample…mine will be warm too!!
Mmm – It’s going to be worth the wait.